Apples, who doesn’t love them? We went apple picking on labor day weekend and have just a few left. Since we’ve all been a bit sick and the kids have had some tummy troubles I decided to make some apple sauce. I had no thought that I would want to eat it or that it would make it into this blog but it is awesome! First of all your kitchen (or if you live in a tiny NYC apt. the whole place) will smell like heaven and second of all it tastes SO GOOD. I would gladly serve this warm with a scoop of vanilla ice cream to anyone for dessert and you could even add a bit of calvados if you wanted to make it extra grown up (though there’s no need).
4 -6 apples – I used a mix of varieties – peeled, cored and diced
1 tsp. cinnamon
1/2 cup water – or a bit more depending on how juicy your apples are
1/4 cup brown sugar – or less if you have very sweet apples
Put all the ingredients in a medium pot over medium heat and cover. Cook at a low boil for 15 to 20 minutes or until the apples are soft. You can mash some with the back of the spoon or if you want it very smooth use an immersion blender. I didn’t mash it at all and thought it was lovely as is.
I mentioned we had champagne at my Mom’s Birthday lunch this past weekend and we had some left over, what’s a girl to do? Don’t fret. I have a no fail way to save the bubbles in your left over bubbly. All you need to do is put the handle of a silver spoon in the neck of the bottle and voila! it will stay carbonated for another day or so.
Also in the category of white people problems is the issue of not having an ice bucket handy. Thank heavens the team at Veuve Cliquot considered this. Our champagne came in a box with this inside:
This doesn’t fit into my healthy living thing except! I love to bake and doing what you love is healthy.
While I was taking gardening classes at the New York Botanical Garden they had a farmers market every Wednesday which was a happy surprise. I bought a bunch of peaches with the thought that it would be fun to make a peach pie. Now that I’ve had peach pie (and loved it) it occurs to me I had never had any before and what a huge, silly, mistake that was.
Day one: I plunged the peaches into boiling water and then into an ice bath to loosen the skins for easy peeling. The skin did not peel off easily. Or at all. I boiled another pot of water, put them back in, let them bob for a bit and then plunked them back into their ice bath. This time the skin came off “easily”. OK so no one’s perfect, two rounds of shocking the peaches isn’t such a big deal right? A day passed and I didn’t get a chance to make the dough. A day passed and I didn’t get a chance to make the dough. A day passed and I didn’t get a chance to make the dough. ARRRGH! At this point the peaches were kaput and all that boiling and icing was for naught. I dumped them and time passed.
Day two: One evening a couple of weeks later I decided to make pie dough. I’ve always been intimidated of making pie dough and have only done it two or three times with mixed results. I threw caution to the wind and went for it. It’s much easier than I thought, but of course what difference does that make if it doesn’t turn out well? It makes a difference if we’re being honest, it does.
Day three: Now I had my disc of pie dough wrapped and chillin’ in the fridge and I had to follow through on the filling part. On a dreamy date the next day with husband I mentioned I needed peaches to fill this pie so we swooped down to the nearest Whole Foods and got some. Sadly, of the four or five varieties of peaches not one was remotely ripe. Not even a tiny bit. They were rock hard and seemed like they would never produce a drop of juice. EEESH.
In the spirit of pushing on I just bought a bunch of local, organic, fuzzy, peach colored baseballs and went with it.
I did the whole boiling water/ ice bath thing, again. Which didn’t work, again. So I peeled them with a vegetable peeler. By now I was sure the hard peaches were not going to work and I wouldn’t even be able to tell if the dough was decent or not but I am nothing if not perseverant.
Day four (location A): I assembled the filling, rolled out the dough, and put them together. The oven started smoking like crazy 4 minutes into baking the damn thing thus forcing me to call my Mom, ask her to preheat her oven and zip out the door with pot holders on my hands and a hot pie plate in my mitts.
Day four (location B): The pie was baked without further incident. No one was harmed in the baking of this pie. The pie is delicious.
The point is not what this story means about me, I’d rather you didn’t dwell on that actually (but if we ever fall into an ice crevasse together you want to stick with me FYI)
The point is the pie is delicious! I think after reading what I just admitted to you will agree I am not bragging when I say this pie is fabulous. The crust is just the right mix of buttery flavor and flakiness. And the filling is super peachy with just enough spices and sugar to enhance but not overwhelm their natural flavor.
For The Pie Dough:
12 tbs. very cold unsalted butter – diced (I keep butter for baking in the freezer)
6-8 tbs. ice water – it’s easiest to fill a cup with water and ice and scoop out what you need
For The Filling:
3.5 lbs. peaches (6-8 depending on the size)
1 tbs. lemon juice
1/4 cup sugar
1/4 cup brown sugar
1 pinch cinnamon
1 pinch nutmeg
2 tbs. cornstarch
1 tbs. milk, water or cream (to brush the top crust of the pie with)
1 tbs. sugar (to sprinkle on the top crust of the pie)
Preheat the oven to 425
To make the dough:
The dough is from Ina Garten, I chose it because she uses a combination of shortening (for flakiness )and butter (for flavor).
**Cold is key in making pie dough. If things start to heat up on you it will turn out gummy so just pop it back in the fridge/freezer until everything is icy cold.
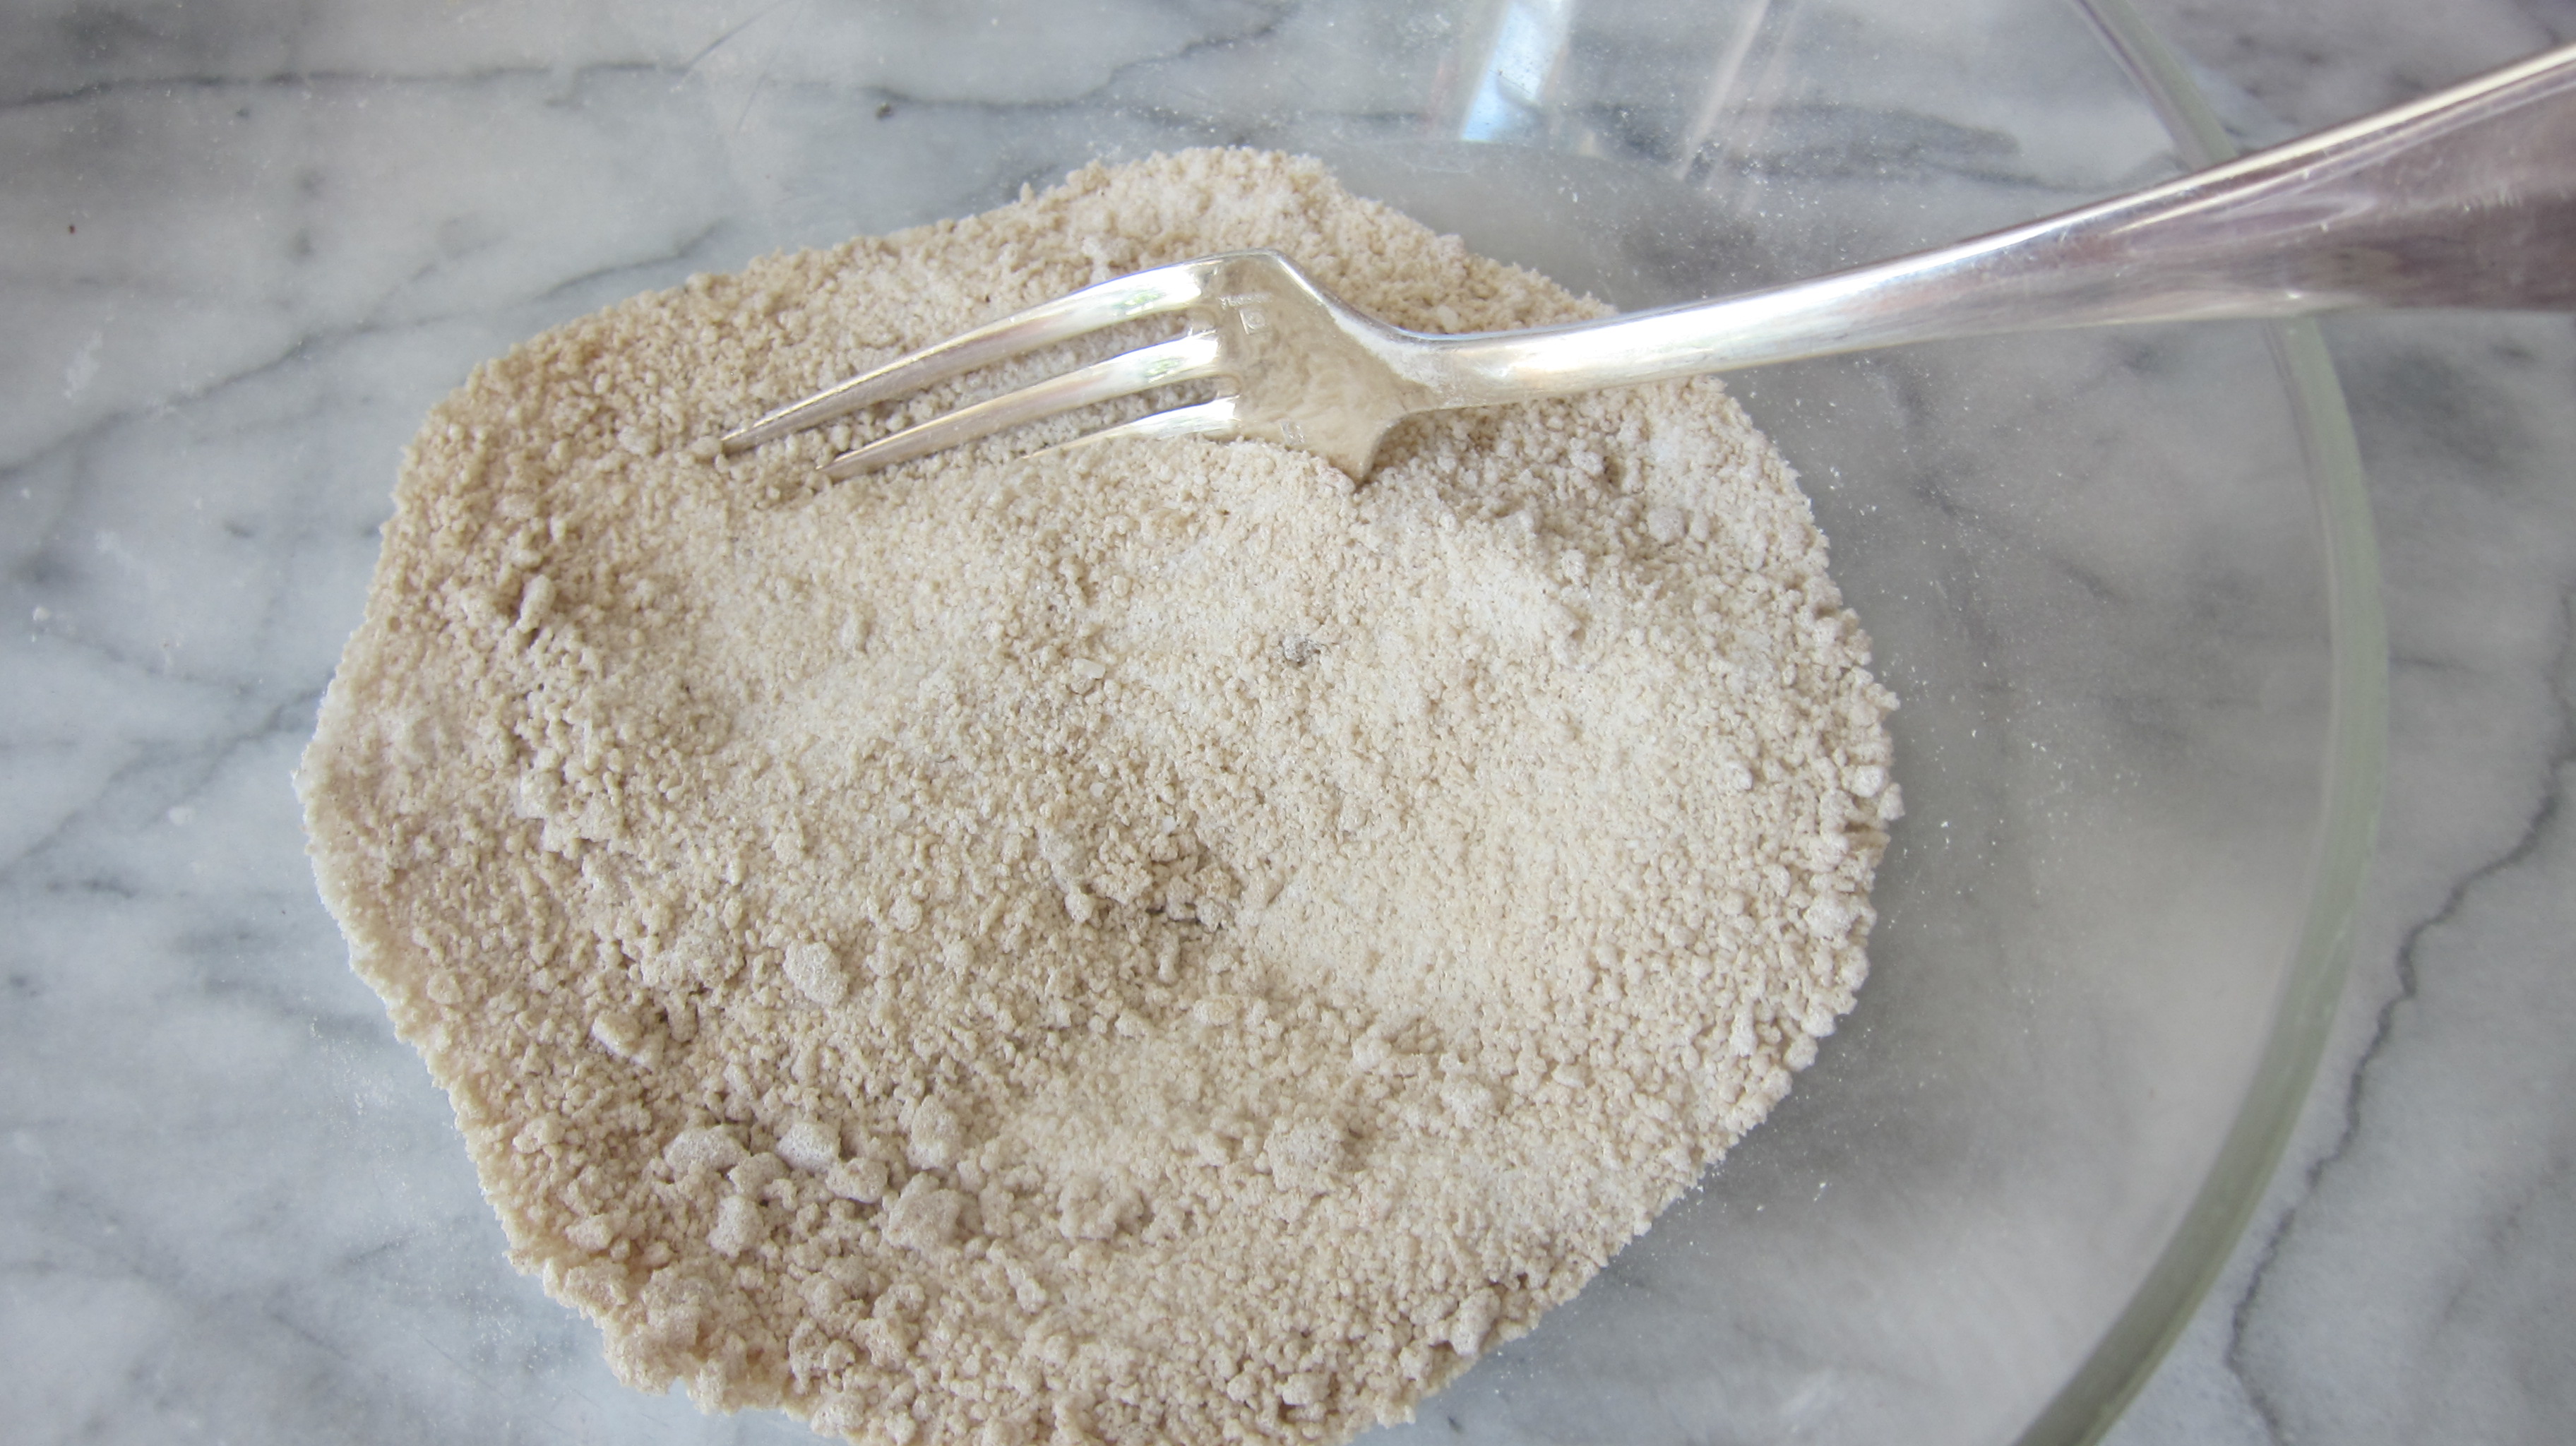
Dice the butter and return it to the refrigerator while you prepare the flour mixture.
Place the flour, salt, and sugar in the bowl of a food processor fitted with a steel blade and pulse a few times to mix. Add the butter and shortening.
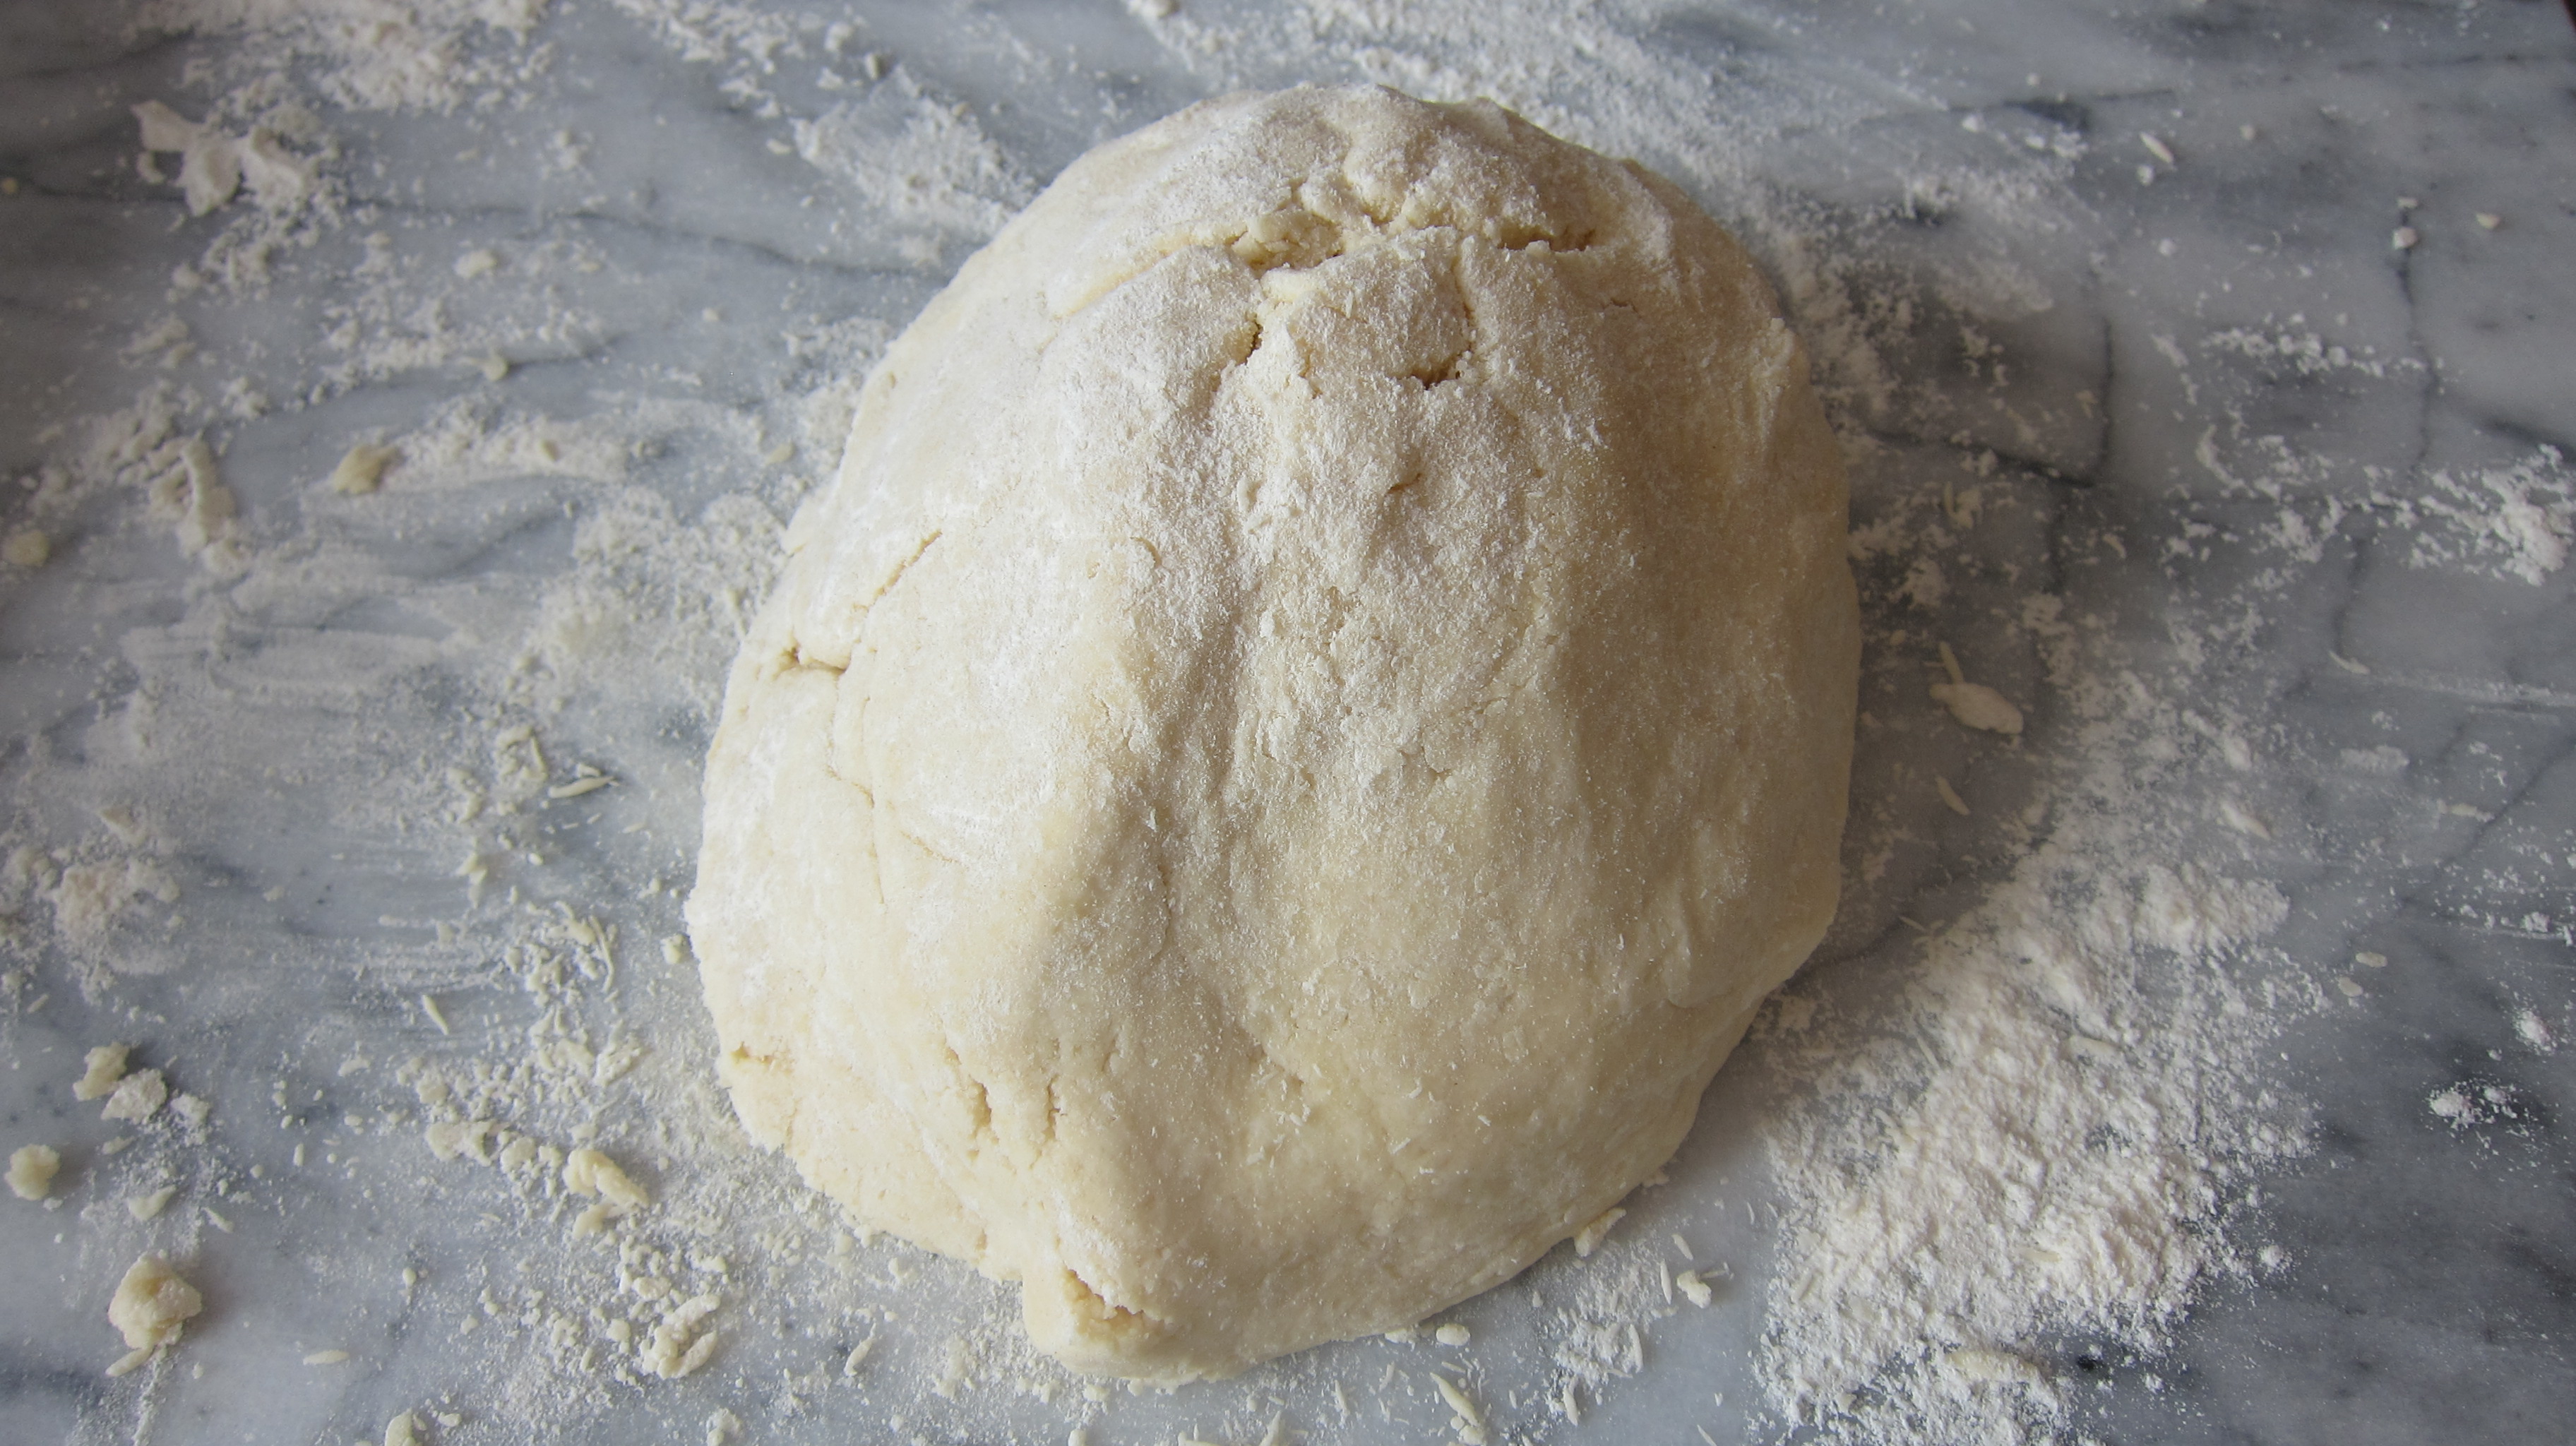
Pulse 8 to 12 times, until the butter is the size of peas. With the machine running, pour the ice water down the feed tube and pulse the machine until the dough begins to form a ball. Dump out on a floured board and roll into a ball.
Wrap in plastic wrap and refrigerate for 30 minutes.
My rolling-pin has inches marked on it so you can tell how big what you’re making is, thank you Silpin!
To make the filling:
Peel the peaches (see above). Halve and pit the peaches, then cut into about 1/3-inch thick slices.You’ll want 6 cups; it’s okay if you go a little over. Add to a large bowl and toss with lemon juice. In a small dish, stir together sugars, cinnamon, nutmeg, salt and cornstarch until evenly mixed. Add to peaches and toss to evenly coat.
To assemble the pie:
Flour your board heavily. Unwrap the disc of dough and cut in half. Wrap the half you’re not going to use and put it back in the fridge. Flour the half you’re about to roll out. Put the dough in the middle of the board and start rolling it out giving it a quarter turn and flipping it over frequently.
Don’t be afraid to use plenty of flour, you do not want any little bits of dough to stick to the board. Keep going until you have a 12-13 inch circle (ish). Loosely fold the dough into quarters and place in the pie plate. Put the pie plate in the fridge while you roll out the second half of dough.
I used a wavy pizza cutter type thing to cut strips for a lattice top on the pie. Did I go through all of this just to buy and use this cutter? Possibly.
Put the filling in the pie and if you are using a top crust or making a lattice top go for it now.
If you’ve used a top crust pinch the top and bottom together with your fingers or the prongs of a fork. If you used a solid top crust make sure to cut some slits in the top for the steam to get out.
Brush the crust with water, milk or cream and sprinkle with sugar.
Put the pie plate on a cookie sheet with sides in case the filling bubbles over and spills. You don’t want to have a smokey oven, ahem.
Bake at 425 for twenty minutes and then turn the oven down to 375 and bake for another thirty to forty minutes until the filling is bubbling and the top is golden. For me the outer rim of the crust was done before the rest of the pie so I put some foil around the outer rim and kept baking. It turned out very evenly browned.
Today was an awful day. Totally the pits. My (soon to be former) babysitter somehow thought showing up at 10 instead of 8 was no big deal and then was mad at me for being mad at her. My son wiped out for no apparent reason and busted open his adorable bottom lip. My baby daughter projected herself from a seated position and gave herself a nice bruise to match her already scraped nose and I am at the end of my rope.
I am not an emotional eater but could you say I’m an emotional cooker? You could. Something worked out well for me though (a bright spot!) because I had made the base for this ice cream yesterday so today had the fun of putting it in the machine and watching it transform from liquid into soft serve. This is cold, smooth, sweet and soothing, all the things that if you were looking to drown your sorrows in food would probably be ideal. I tasted it, and it’s really good, but I’m saving it for when we have friends over some night. Now that it’s getting warm I’ll make a berry pie or crumble to serve it with and that will be a very good day.
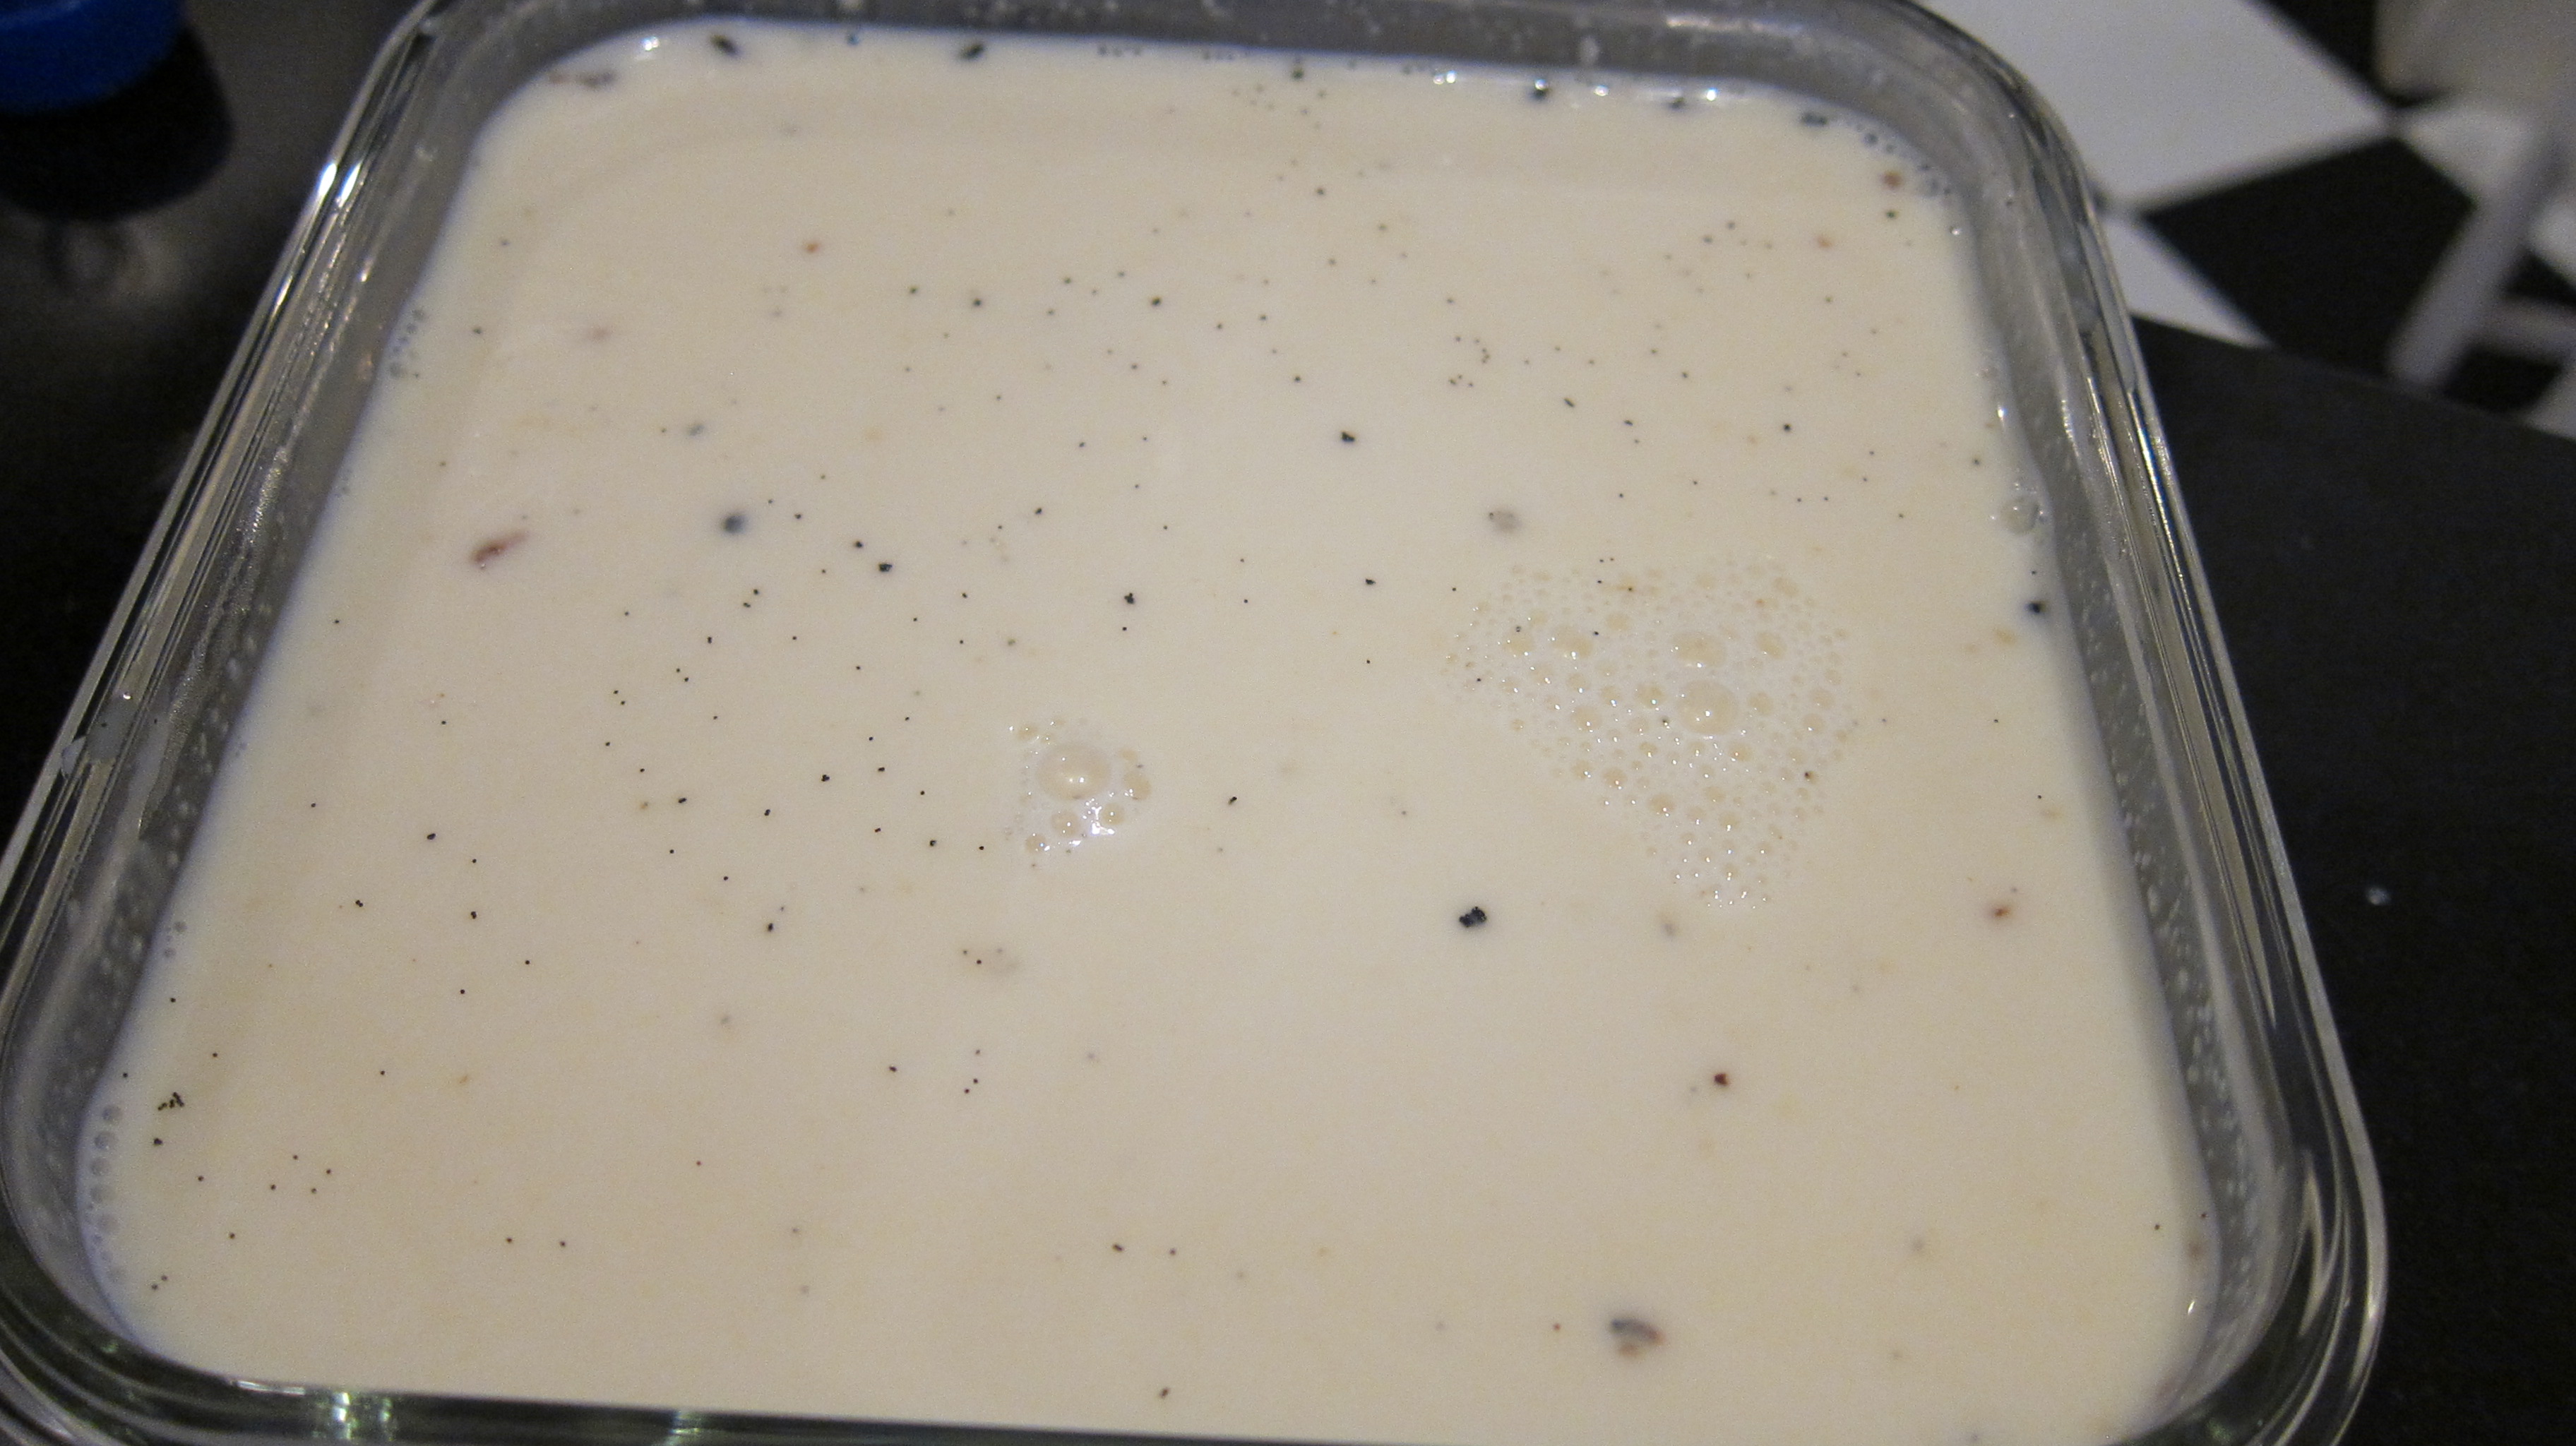
I’m a novice at making ice cream but as I understand it most traditional ice creams have a custard base where you use a ton of egg yolks and temper them with hot milk etc etc. I did this here https://nessiebnyc.wordpress.com/2013/05/07/buttermilk-ice-cream/but in this recipe you get to skip that step which is nice if you don’t have the time or don’t want to use up a dozen or so eggs. This is just cream and milk infused with flavorings and chilled, easy peasy.
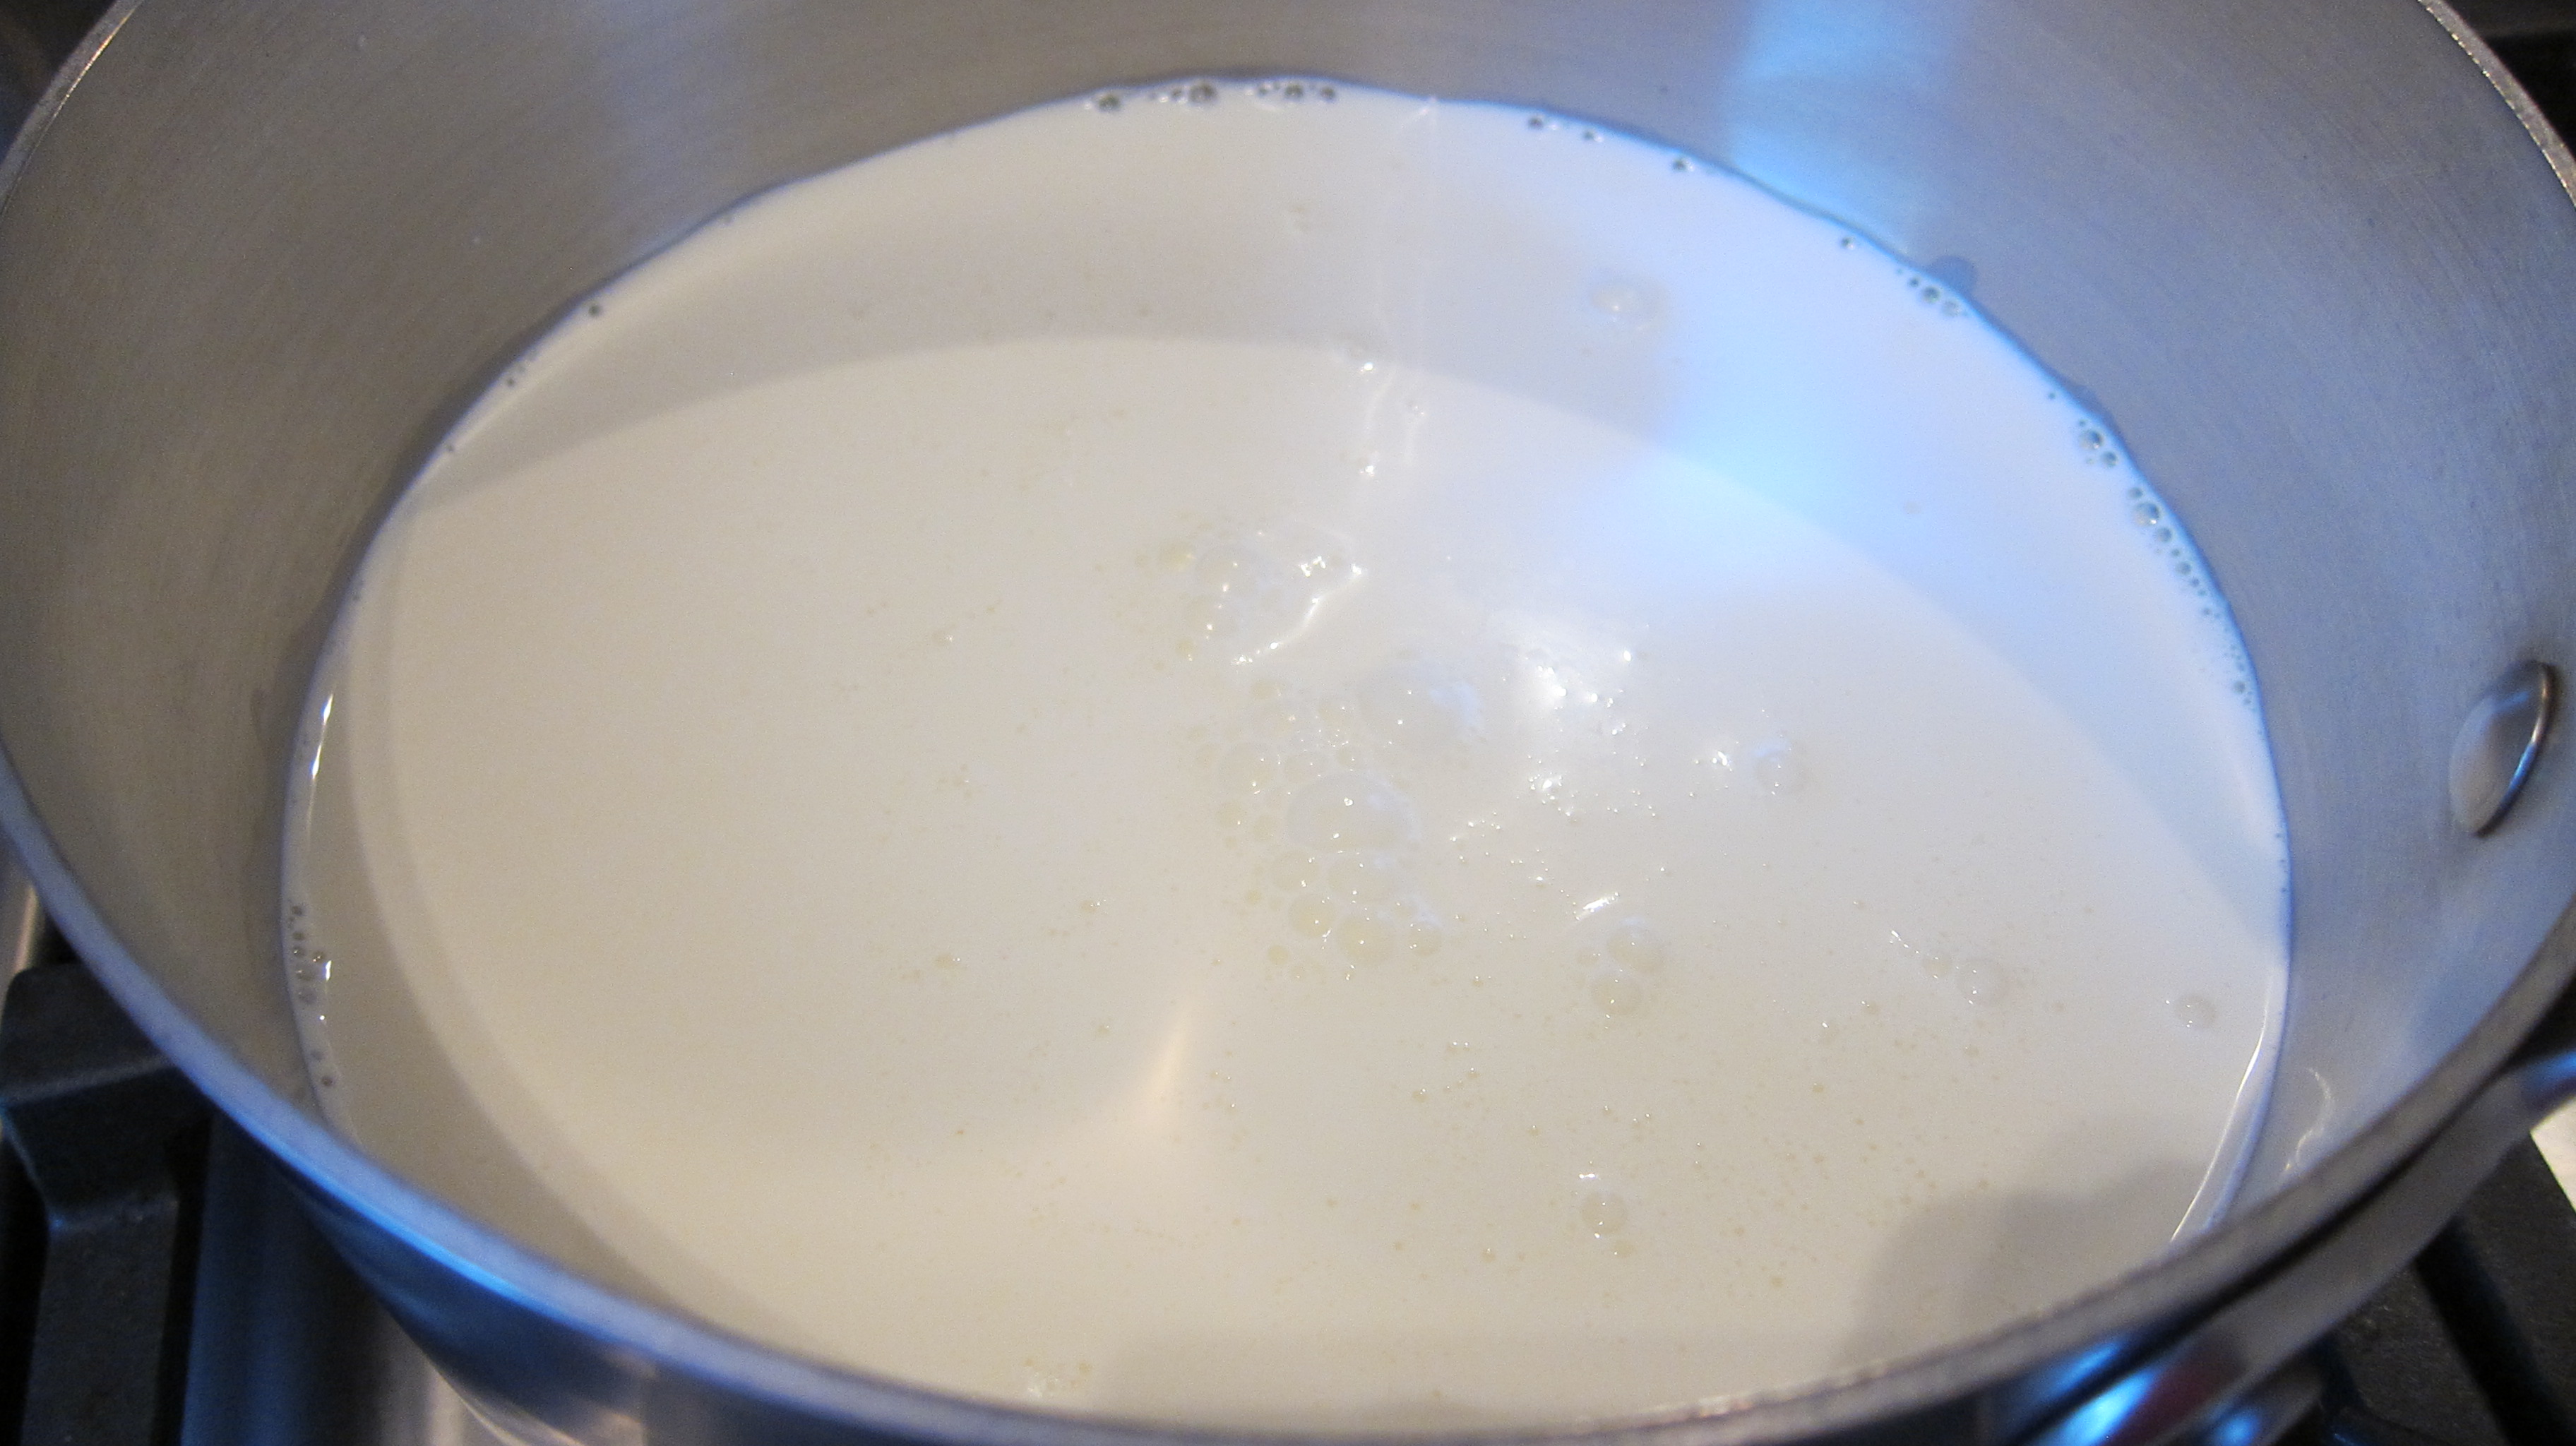
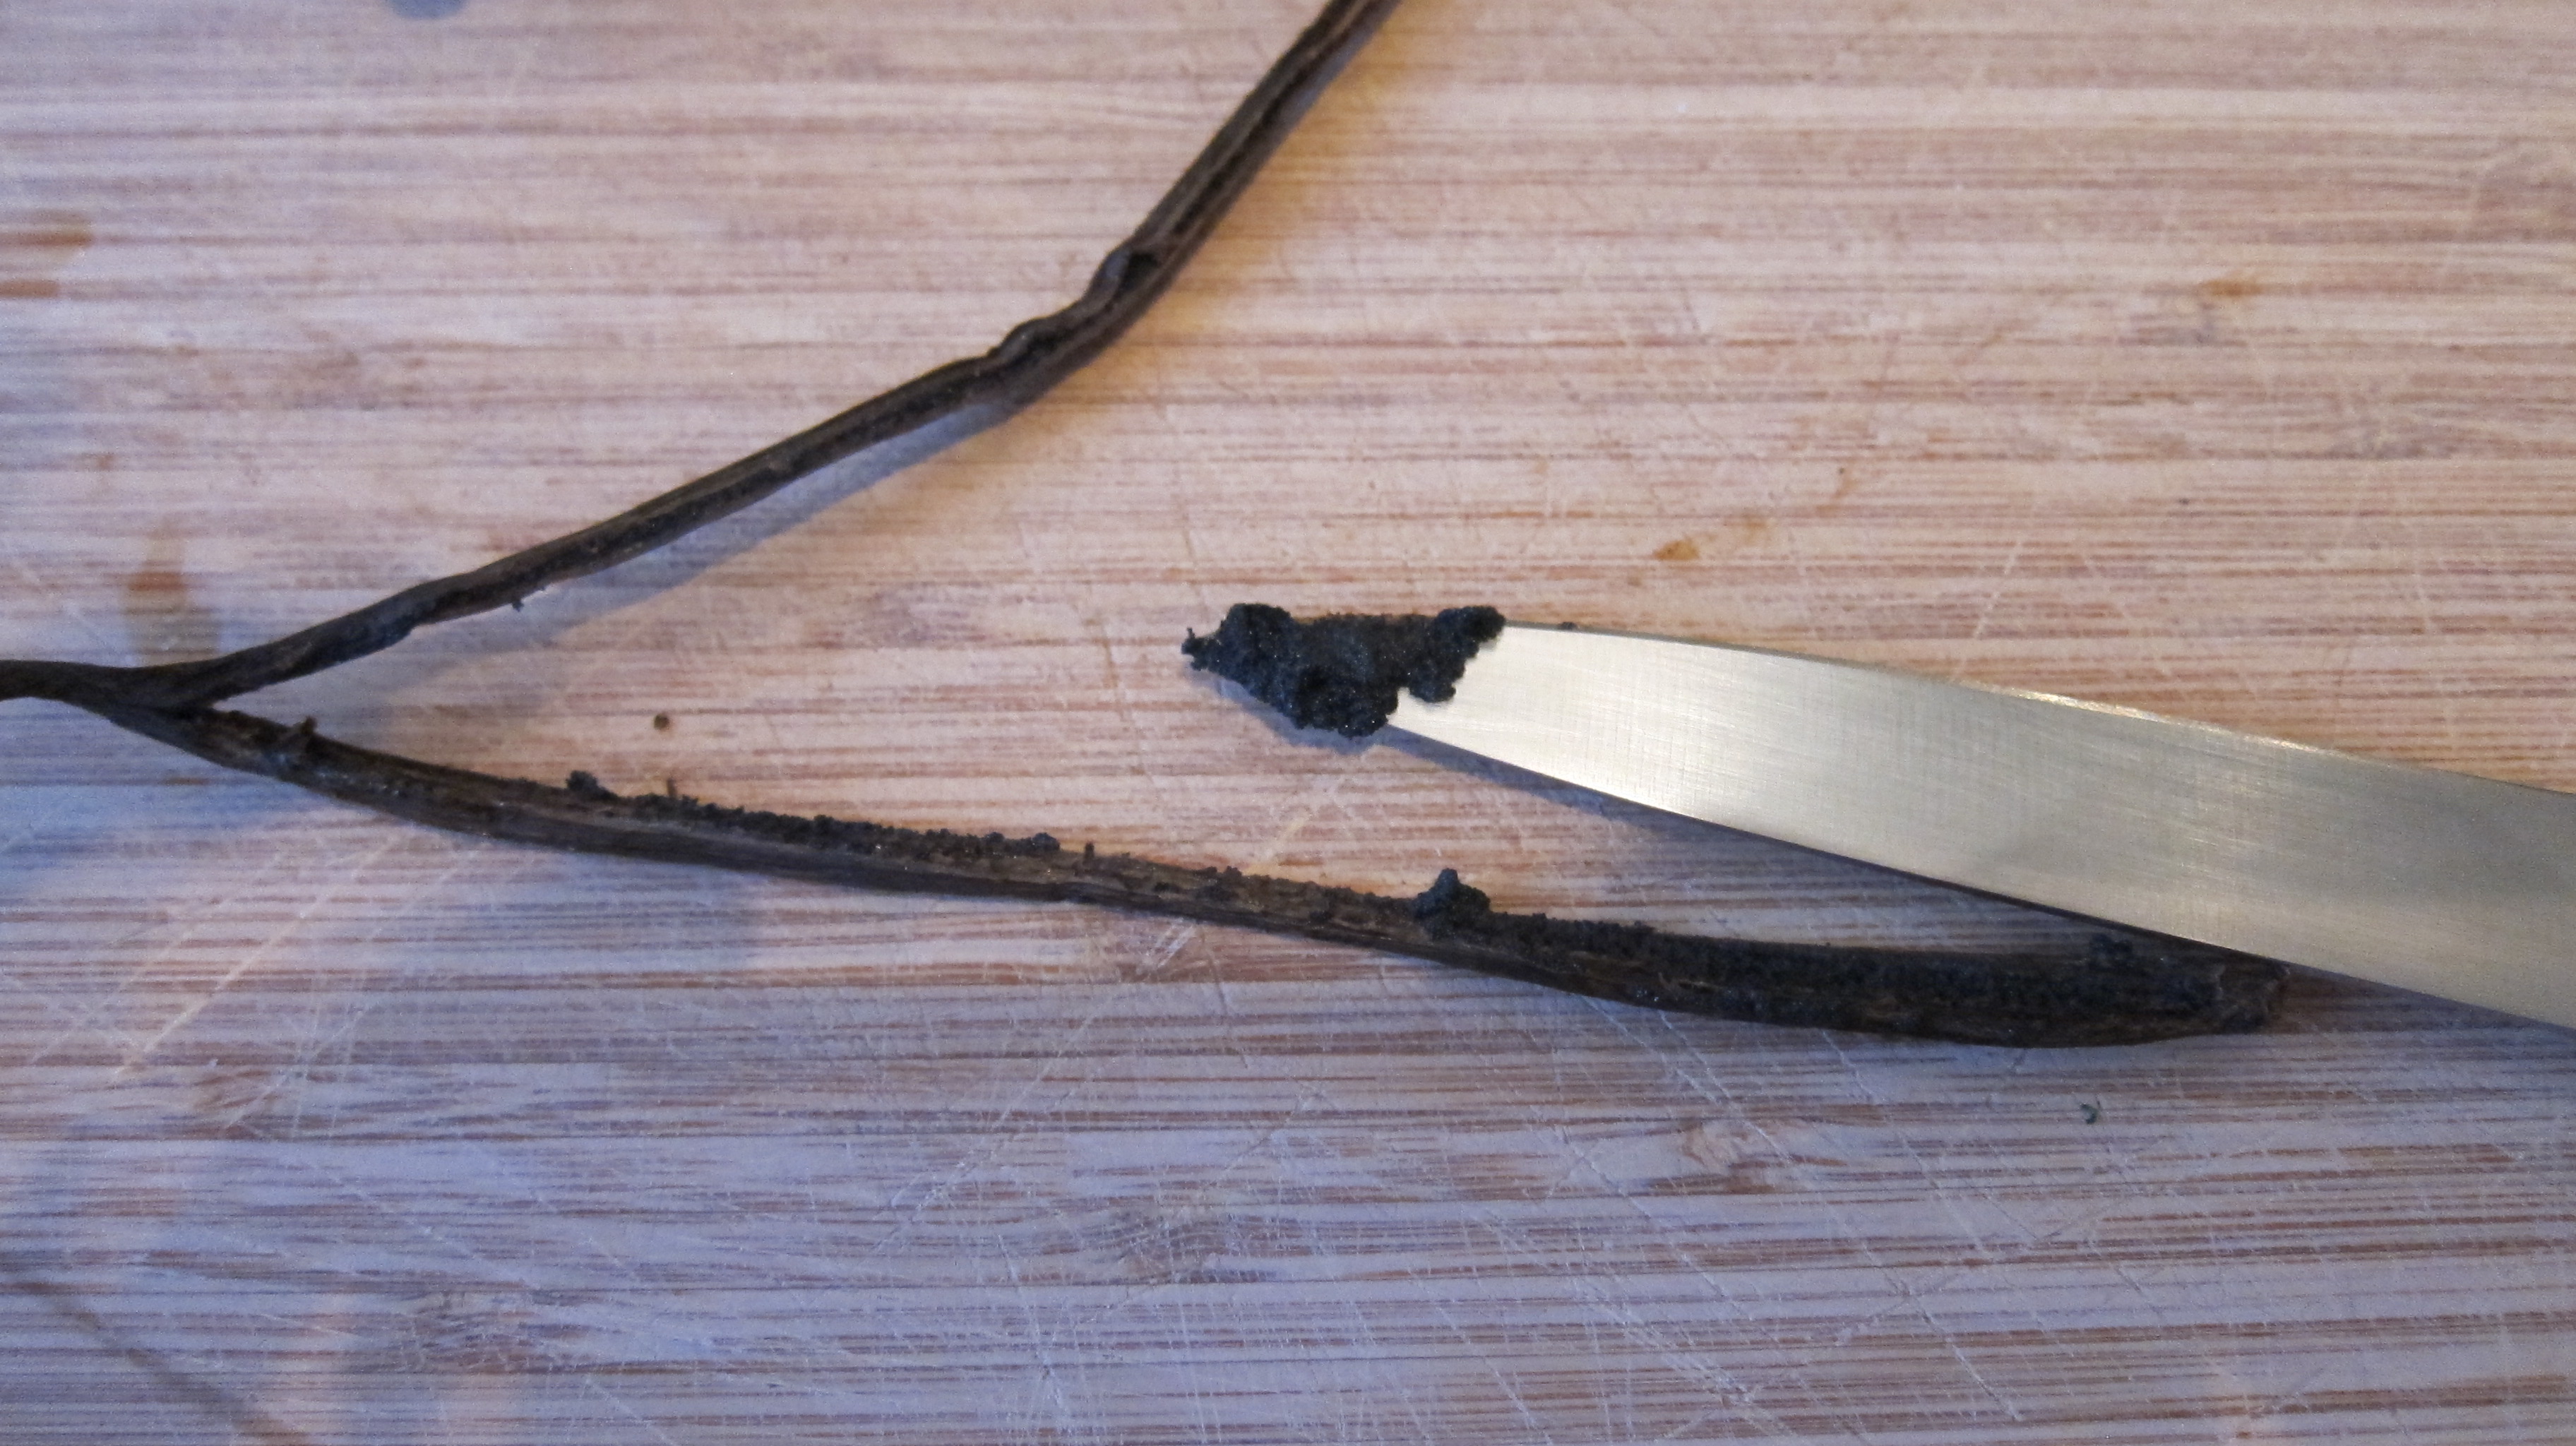
Combine all the ingredients in a large pot over medium heat, including the vanilla bean and pulp.
Allow the mixture to heat slowly, stirring occasionally until it just starts to simmer. Remove from the heat and allow to cool slightly. Pour into a container with a lid and allow to cool over night.
The following day mix according to your ice cream machines instructions.
Yes those are little 3.5 year old hands above attached to a little person very interested in ice cream.
I mentioned a while back I was going to make an olive oil cake and I did but it didn’t turn out well. It was too dry, which for an olive oil cake is totally unacceptable. I waited a little while and made a different one that I found on a blog I love, Cup Of Jo http://joannagoddard.blogspot.com/. I don’t have terrific pictures of this one because when it came out of the oven it looked as though it had risen and fell and I thought it was a bust. But the edges were so good (Husband described it like an olive oil Twinkie) that I ended up taking it out of the pan and serving it much to everyone’s delight. The cake is totally delicious and the texture is moist as is only fitting for a cake that is centered around oil. It has a very large crumb which I assume must come from the only ingredient that’s not typical, almond flour. I also assume the almond flour is what made this cake do it’s weird up-the-walls-of-the-bunt-pan-but-not-in-the-center trick but can’t imagine the chemistry behind that. This has the flavor and richness of olive oil and you can definitely taste the lemon though it’s in no way a lemon dessert (I don’t like lemon desserts, thanks anyway).
1 cup all-purpose flour
1/2 cup almond flour
1 cup sugar
1/2 tsp. salt
1 tsp. baking soda
1 tsp. baking powder
1/2 cup extra virgin olive oil – nothing with too strong of a flavor
1/2 cup lemon juice (you can use Meyer lemons if you prefer)
zest of 1 lemon
2 eggs
Preheat the oven to 350 degrees
Whisk all the dry ingredients in a large bowl,
make a well in the center of the mixture and add the wet ingredients.
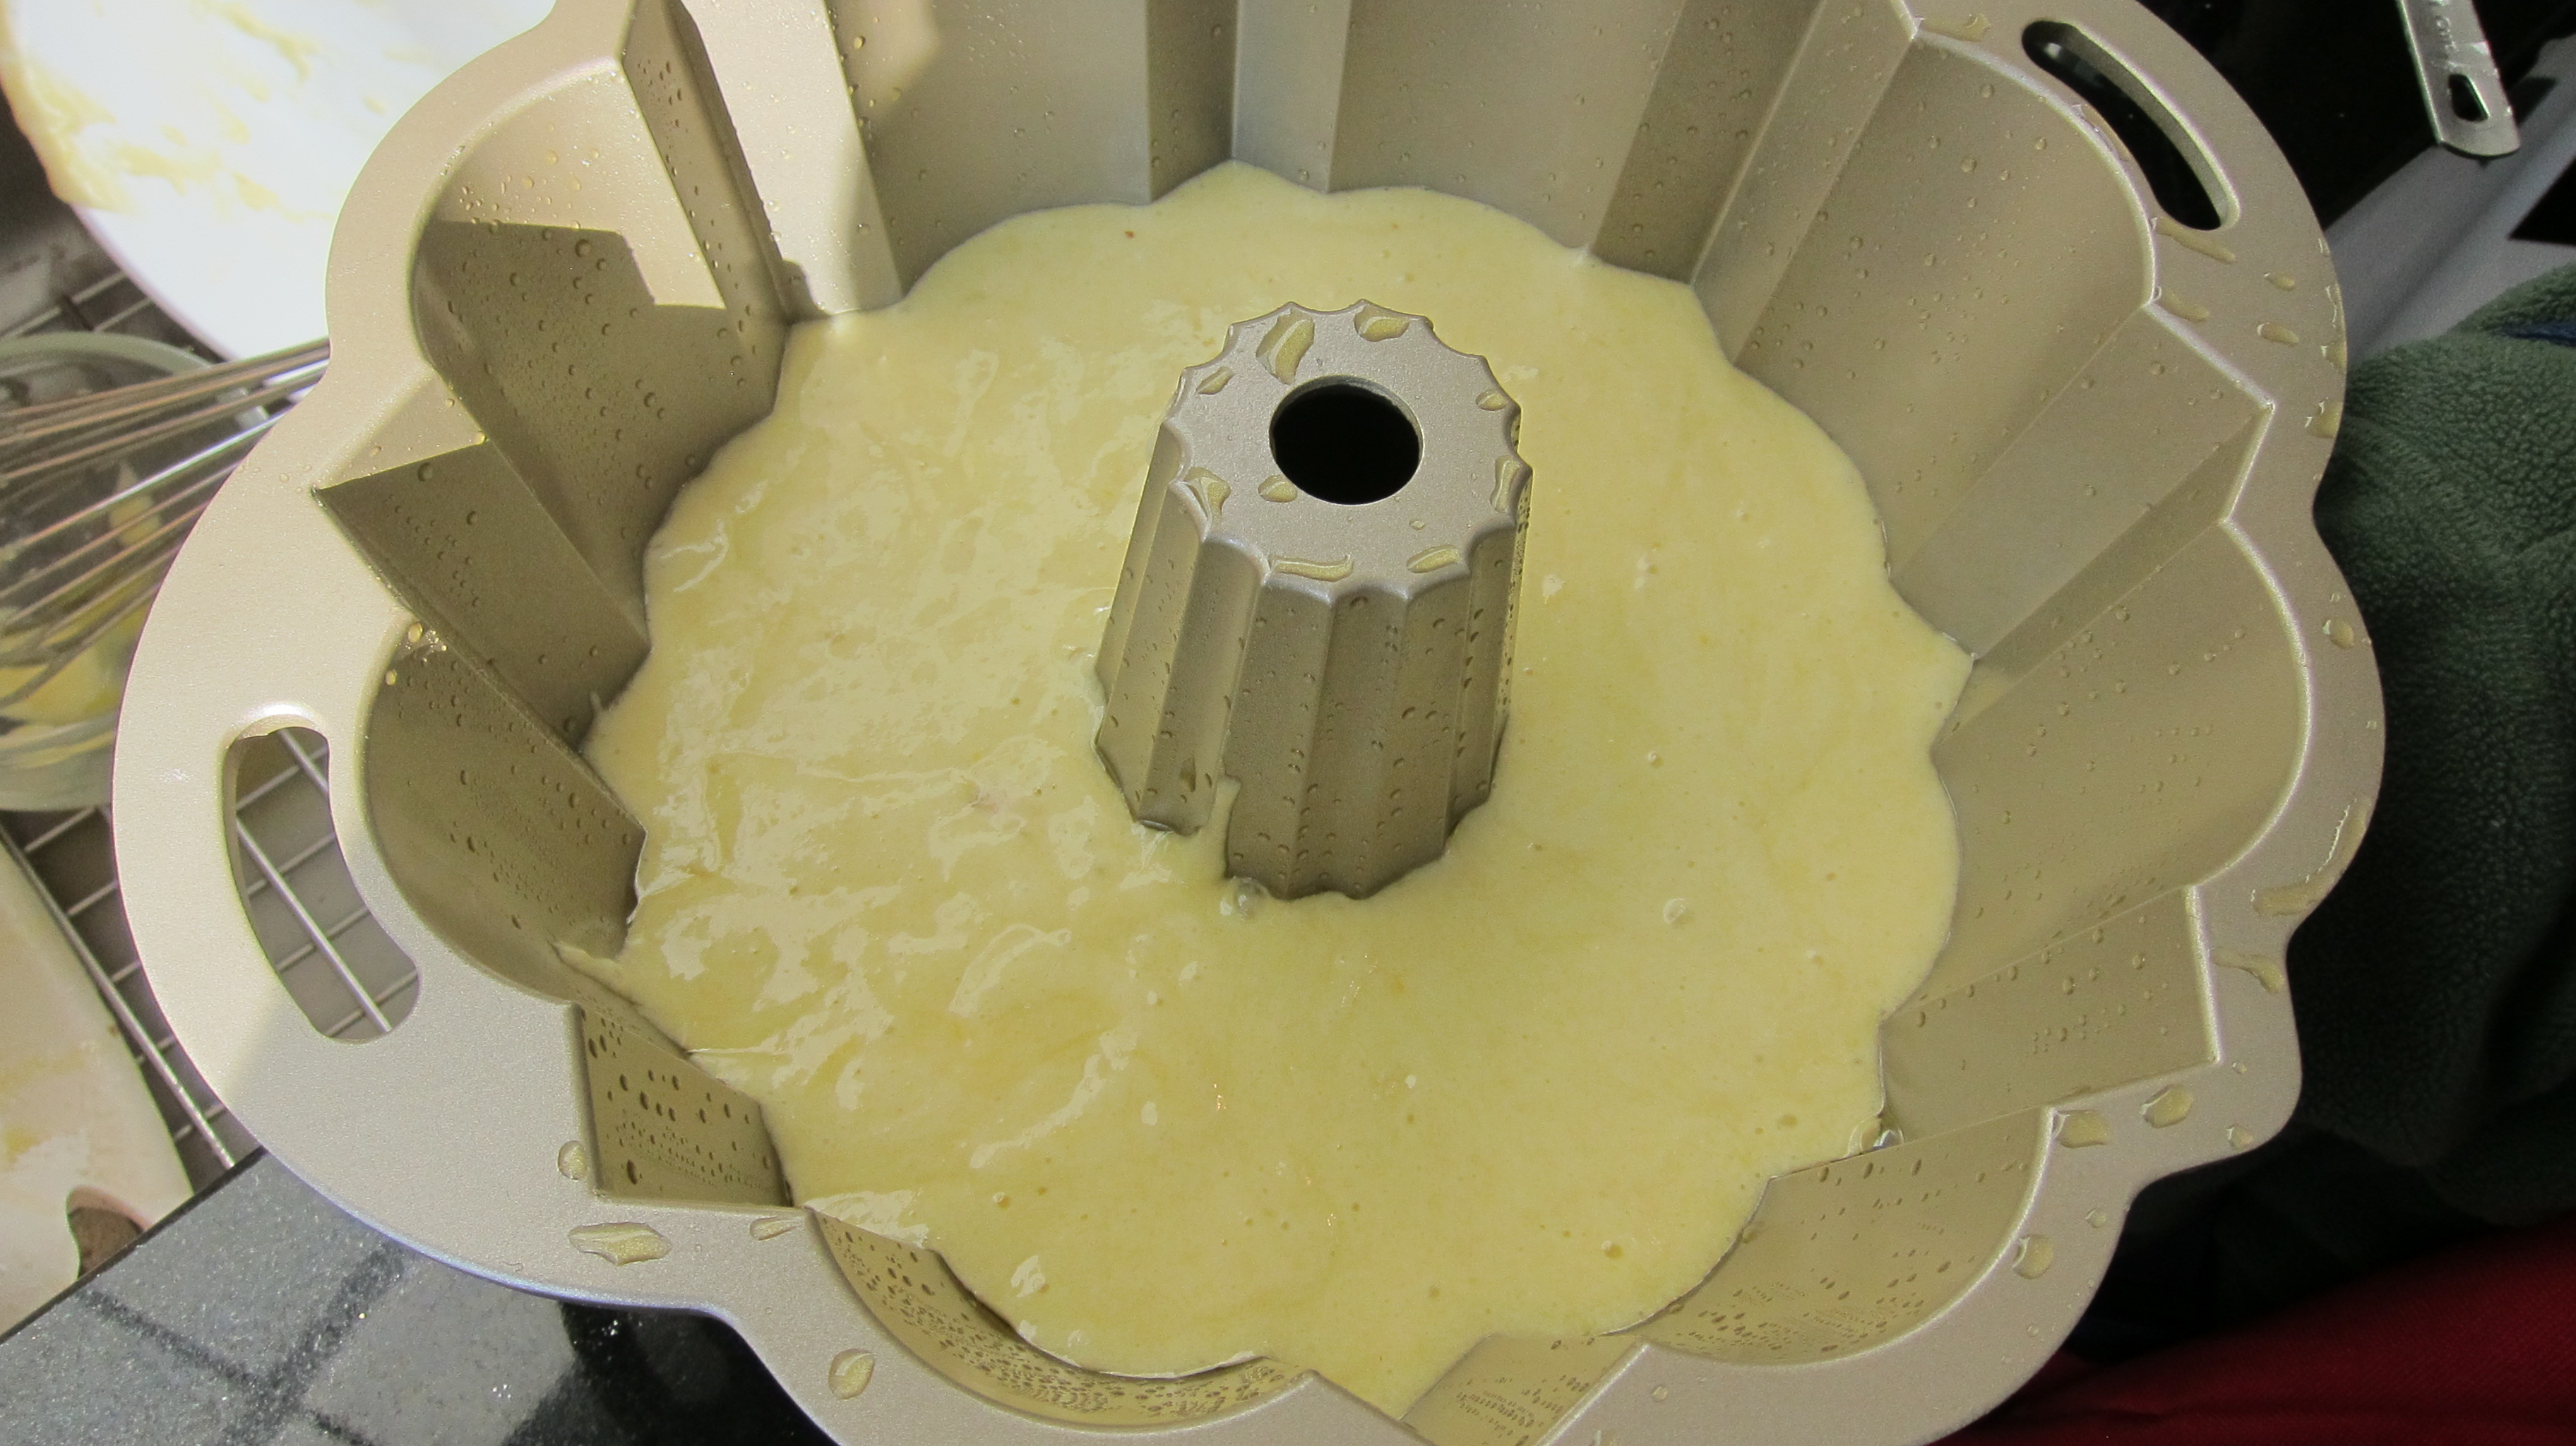
Combine and pour into an oiled bundt pan.
Bake for approximately 40 minutes or until a tester comes out clean. Allow to cool and serve. If you look on the Cup Of Jo website you will see there is a glaze you can do, I skipped it as I never like that kind of thing. You could sift a little powdered sugar over the top if you wanted to dress it up a bit, though I think anything out of a bundt pan is pretty enough. I served this with the buttermilk ice cream I made a little while ago and the combination was great.
The cake is “all done” (as my baby would say) and I can’t wait to make it again. I’ll let you know what happens re: the rising of it the next time I make it. If any of you make it will you post to me and let me know what happens?
Even more I love this little doll I have of her. There is a solar panel on top of her purse and when she’s in the sun, she waves at me. It is delightful.
I went to the farmer’s market a couple of weeks ago and got myself some new herbs (rosemary, thyme, basil, spearmint) for the spring. Cooking with fresh herbs is a great way to add tons of flavor and zip to whatever you’re making and they are great for you (a different way to get your greens). When we have our bigger garden in full swing in the summer with more herbs then we know what to do with I snip lots of different little soft leaves and toss them in with my plain lettuce salads and it is terrific. An easy way to have an Alice Waters moment with hardly any effort.
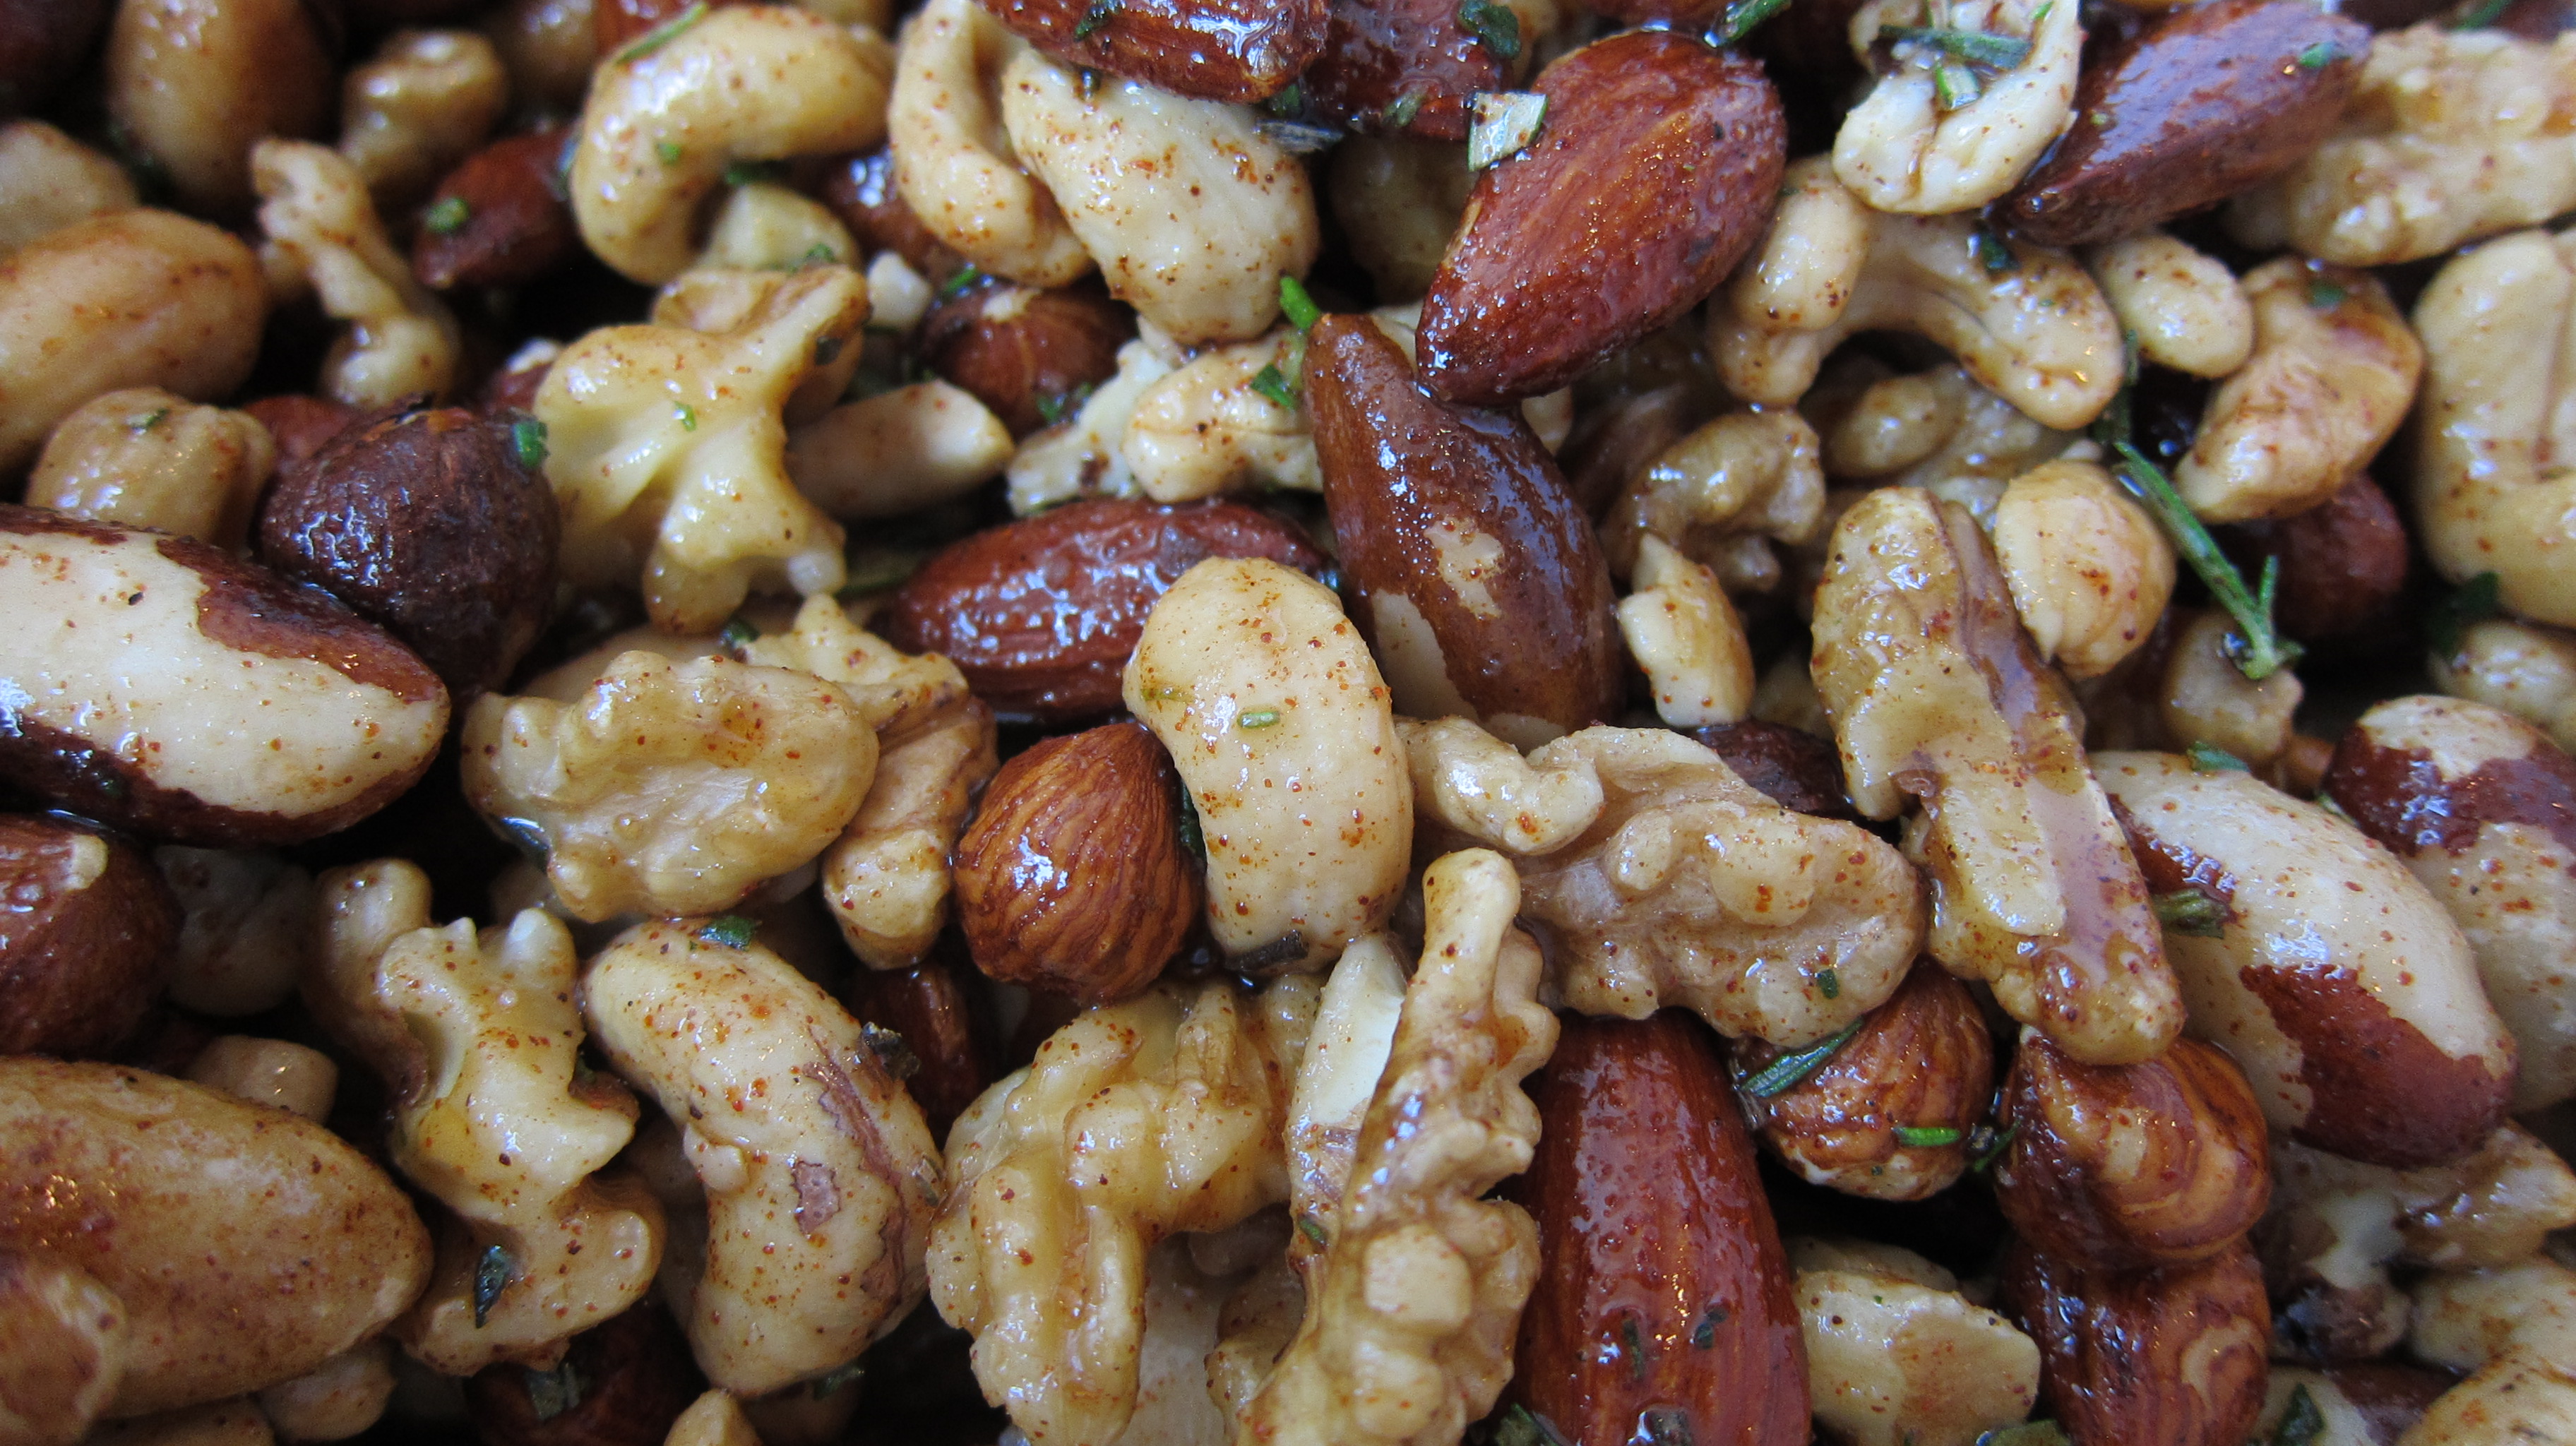
These are totally addictive. I had them at a book club meeting and had to try to pretend to be a well mannered human and not just grab the whole bowl and hoard them. My friend passed on the recipe to me and it turns out they are from my other “friend” Ina Garten. Oh Ina, you really deliver.
Vegetable oil
5-6 cups assorted nuts (I used a mix but if you really love one type go with that)
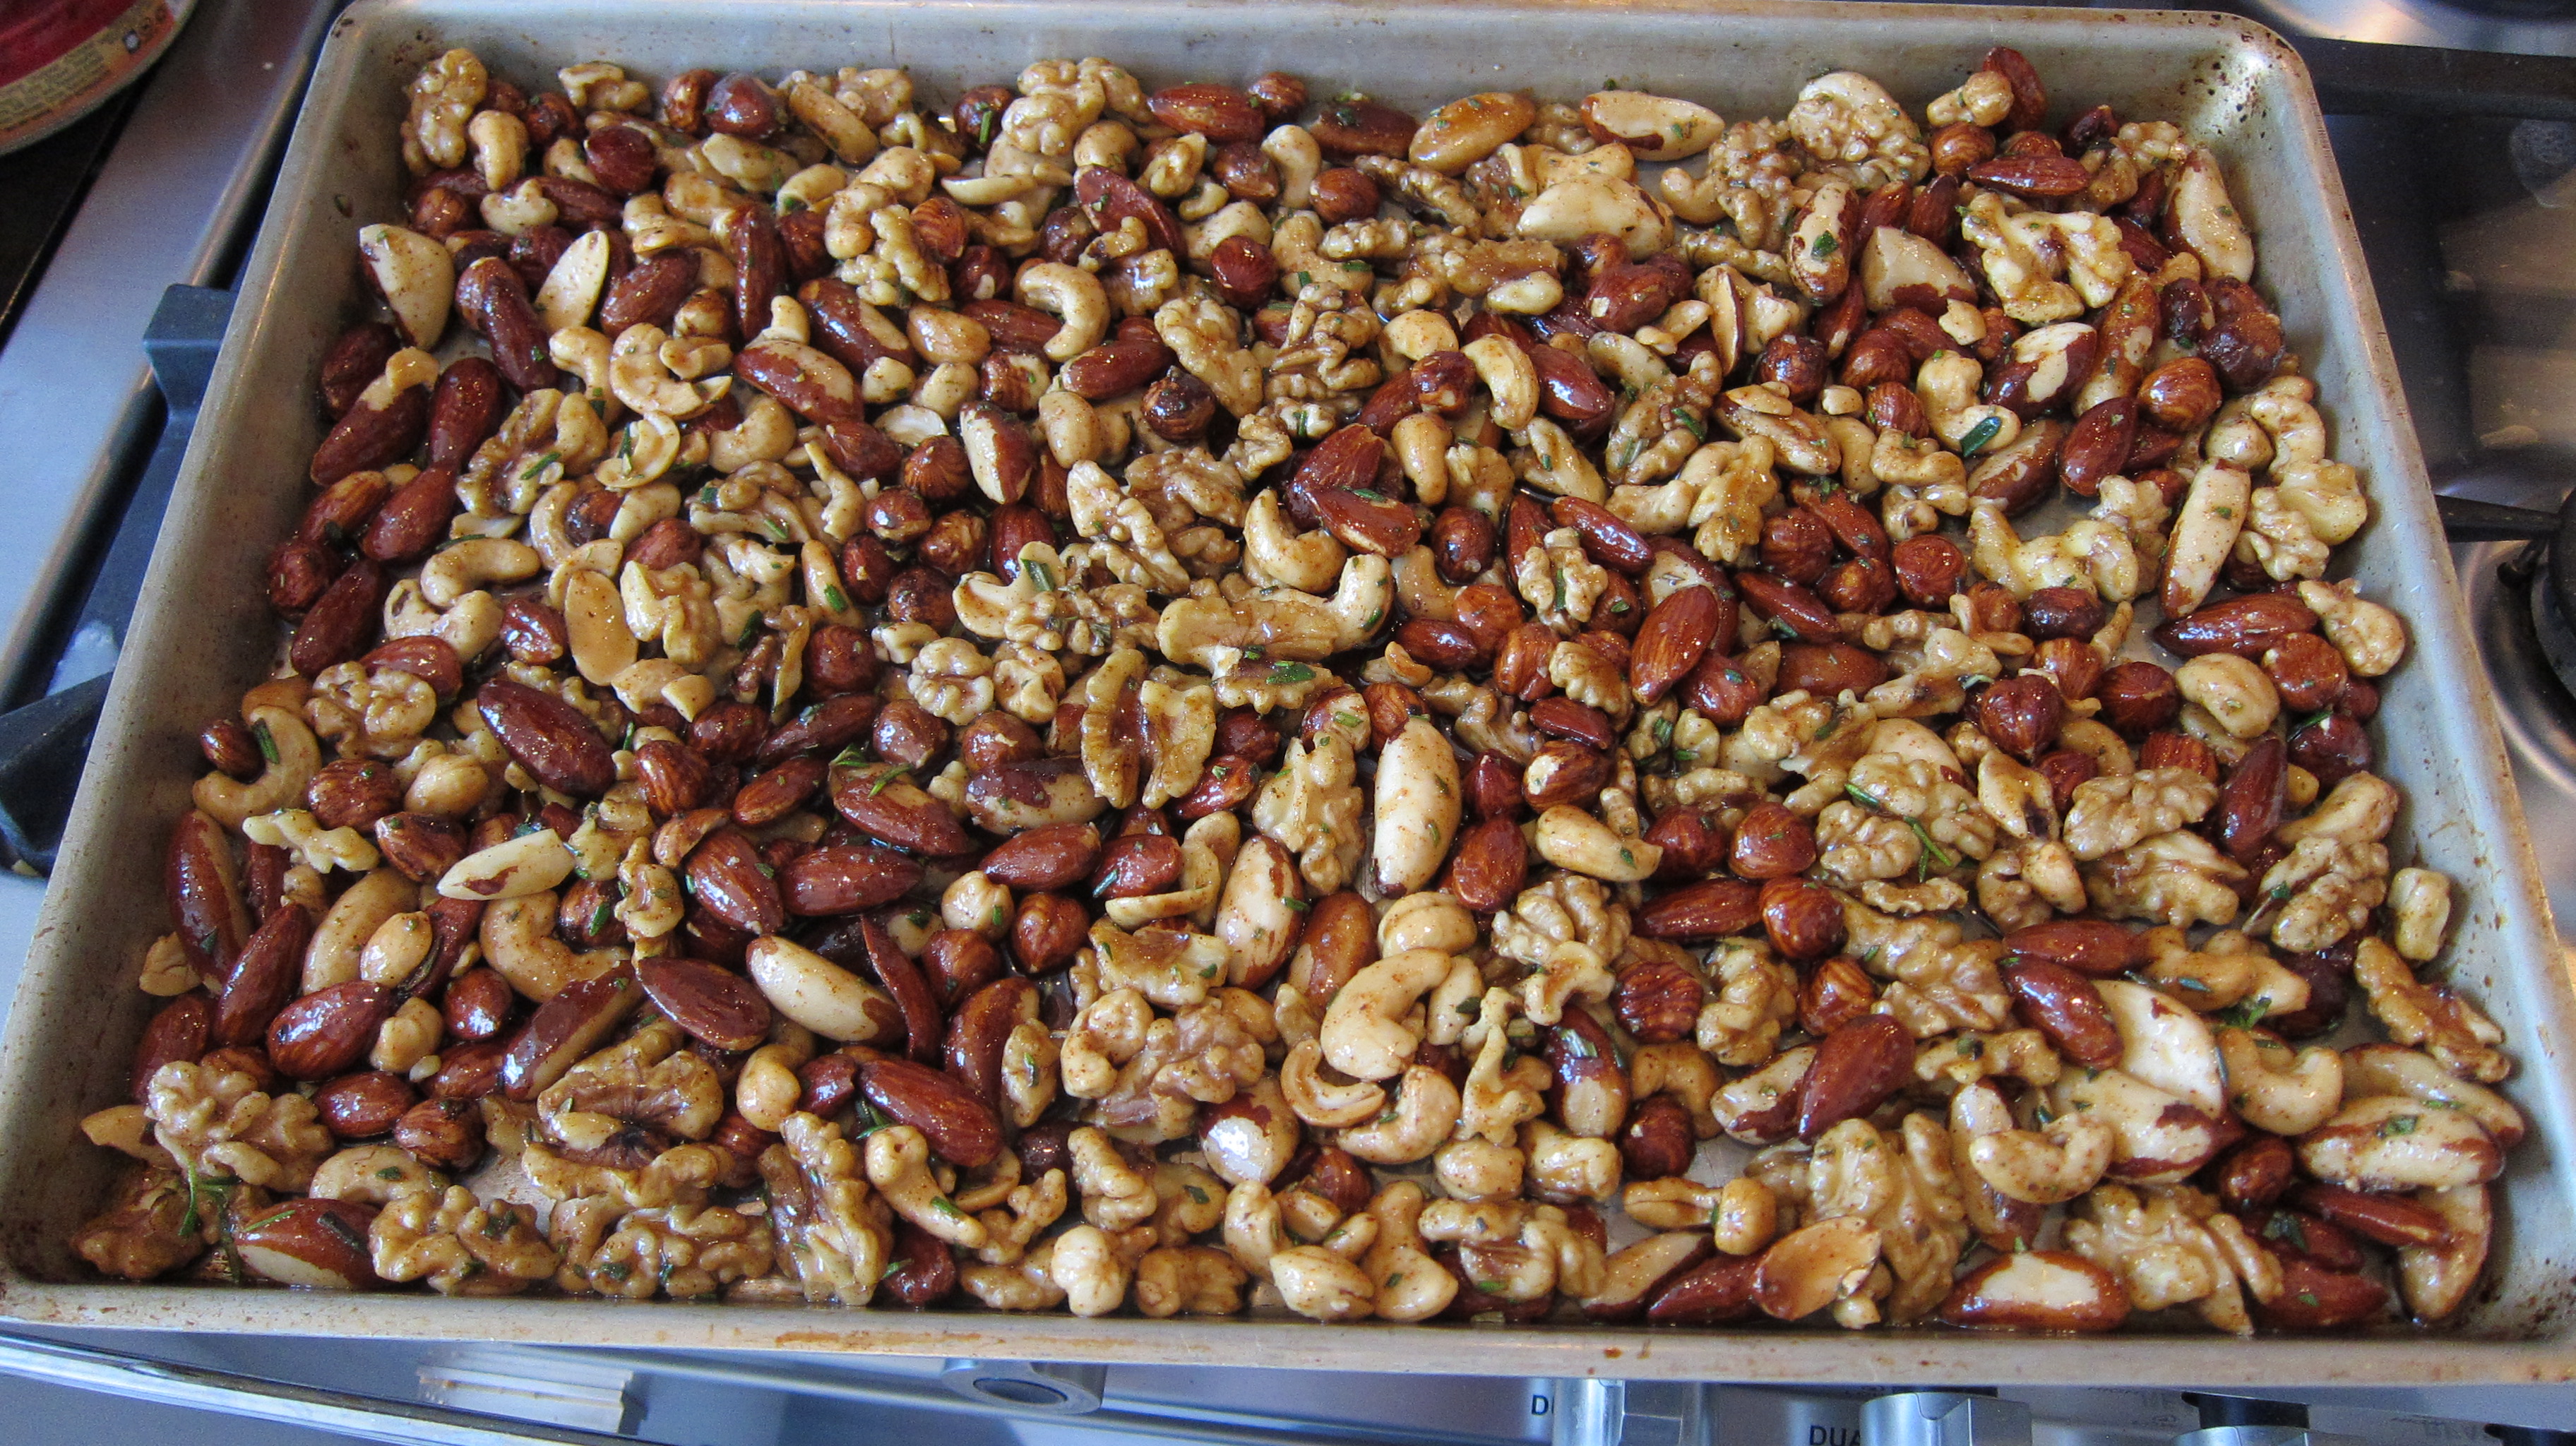
Brush a sheet pan with a generous amount of the vegetable oil. Combine the o.j., sugar, maple syrup, chipotle powder, 2 tsp. of kosher salt, and 2 tbs. of the minced rosemary leaves. (*In the interest of full disclosure the spice/o.j. mixture didn’t smell that great when I was making this but when it’s all cooked and on the nuts it’s fantastic so don’t give up.*) Add the nuts and toss well to make sure all the nuts are well coated.
Pour onto the sheet pan, make sure the nuts are in a single layer, put in the oven for 25 minutes.
Half way through toss the nuts and put them back in for the rest of the time, being careful to spread the nuts in a single layer. Remove from the oven and add the remaining rosemary and 2 more tsp. of kosher salt. Allow to cool tossing the nuts occasionally while cooling to prevent from sticking to the pan.
These probably would be great with a mint julep in case you were wondering….
So this post requires me to flesh out a bit more of my healthy food philosophy as on first glance ice cream isn’t on most people’s list of foods that do a body good. Here’s the thing, everyone eats treats; ice cream, cake, cookies, cheese, etc. and that’s a good thing because they taste good, are fun and are generally celebration oriented (all good things) . I think that when you have these kinds of food you should go for it, do it up and have the real deal, full cream, all the butter, salt, sugar, fat and white flour that is required to make it really delicious and special. I never eat “diet” anything, no diet soda, no fro yo, no sugar or butter substitutes. Firstly, I think they are creepy (where do they come from?!?) second, I suspect they are ultimately bad for you and third and most important they taste awful. I think if you eat some good old fashioned treats occasionally with the highest quality ingredients possible you will enjoy it more (so not need to eat so much of it) and I like to recognize what I’m eating. If you’re at all interested in this stuff check out http://michaelpollan.com/ , he’s the guru of this philosophy.
Hang on a second, I need to climb down off of this HIGH horse.
This ice cream is the bomb. I’ve made ice cream twice before, once was great and once it didn’t set up which was very sad. A word to the wise, when they say “let the mixture cool completely” they mean over night. This is the first thing I’ve made from http://smittenkitchen.com/ and I’m impressed. I did take advantage of her note at the bottom and only used 9 egg yolks because that’s all we had. If any of you make this with more or less yolks I’d love to hear how it turns out!
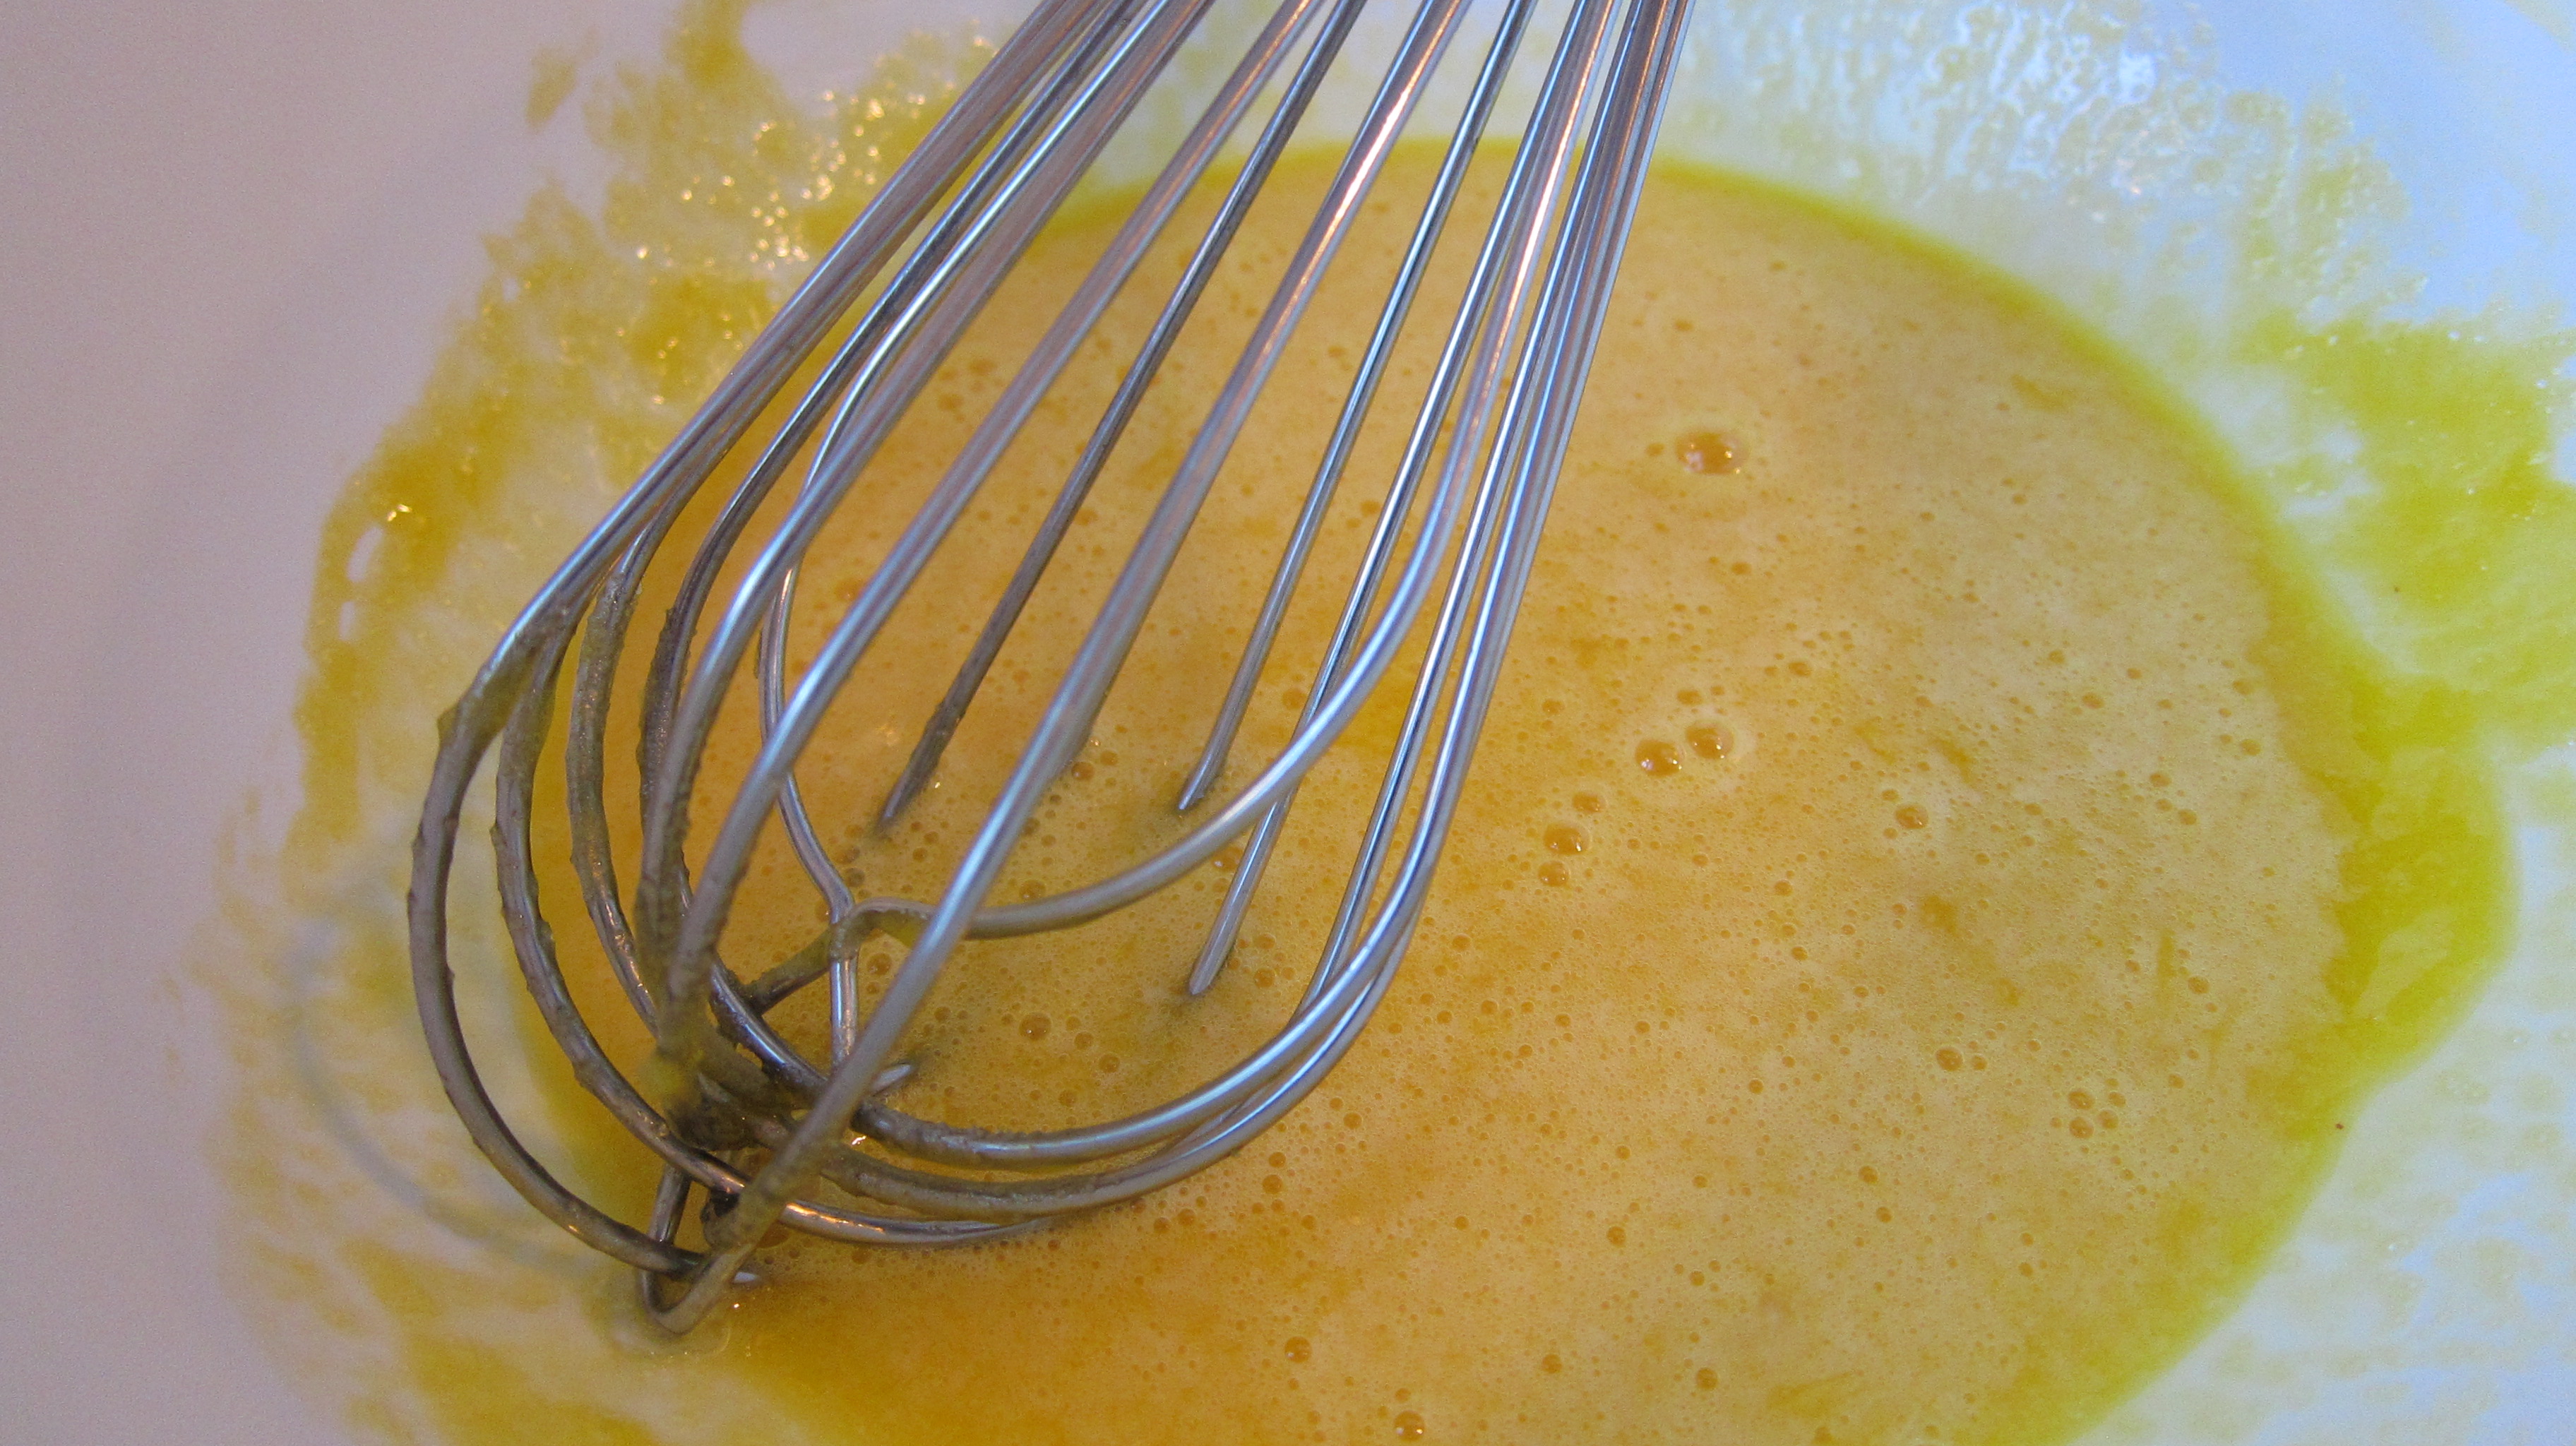
In a large bowl whisk the egg yolks and 1/4 cup of sugar.
Over medium heat in a large, heavy saucepan combine the cream and one cup sugar and bring to a simmer.
Remove the cream mixture from the heat and slowly drizzle a small amount into the yolks whisking constantly so the yolks don’t curdle. Do this a few more times (this warms the yolks with out them cooking) before pouring the yolk mixture back into the pot with the cream, still whisking constantly.
This is called “tempering”, I’ve always been intimidated to try this but it was no big deal, just take your time.
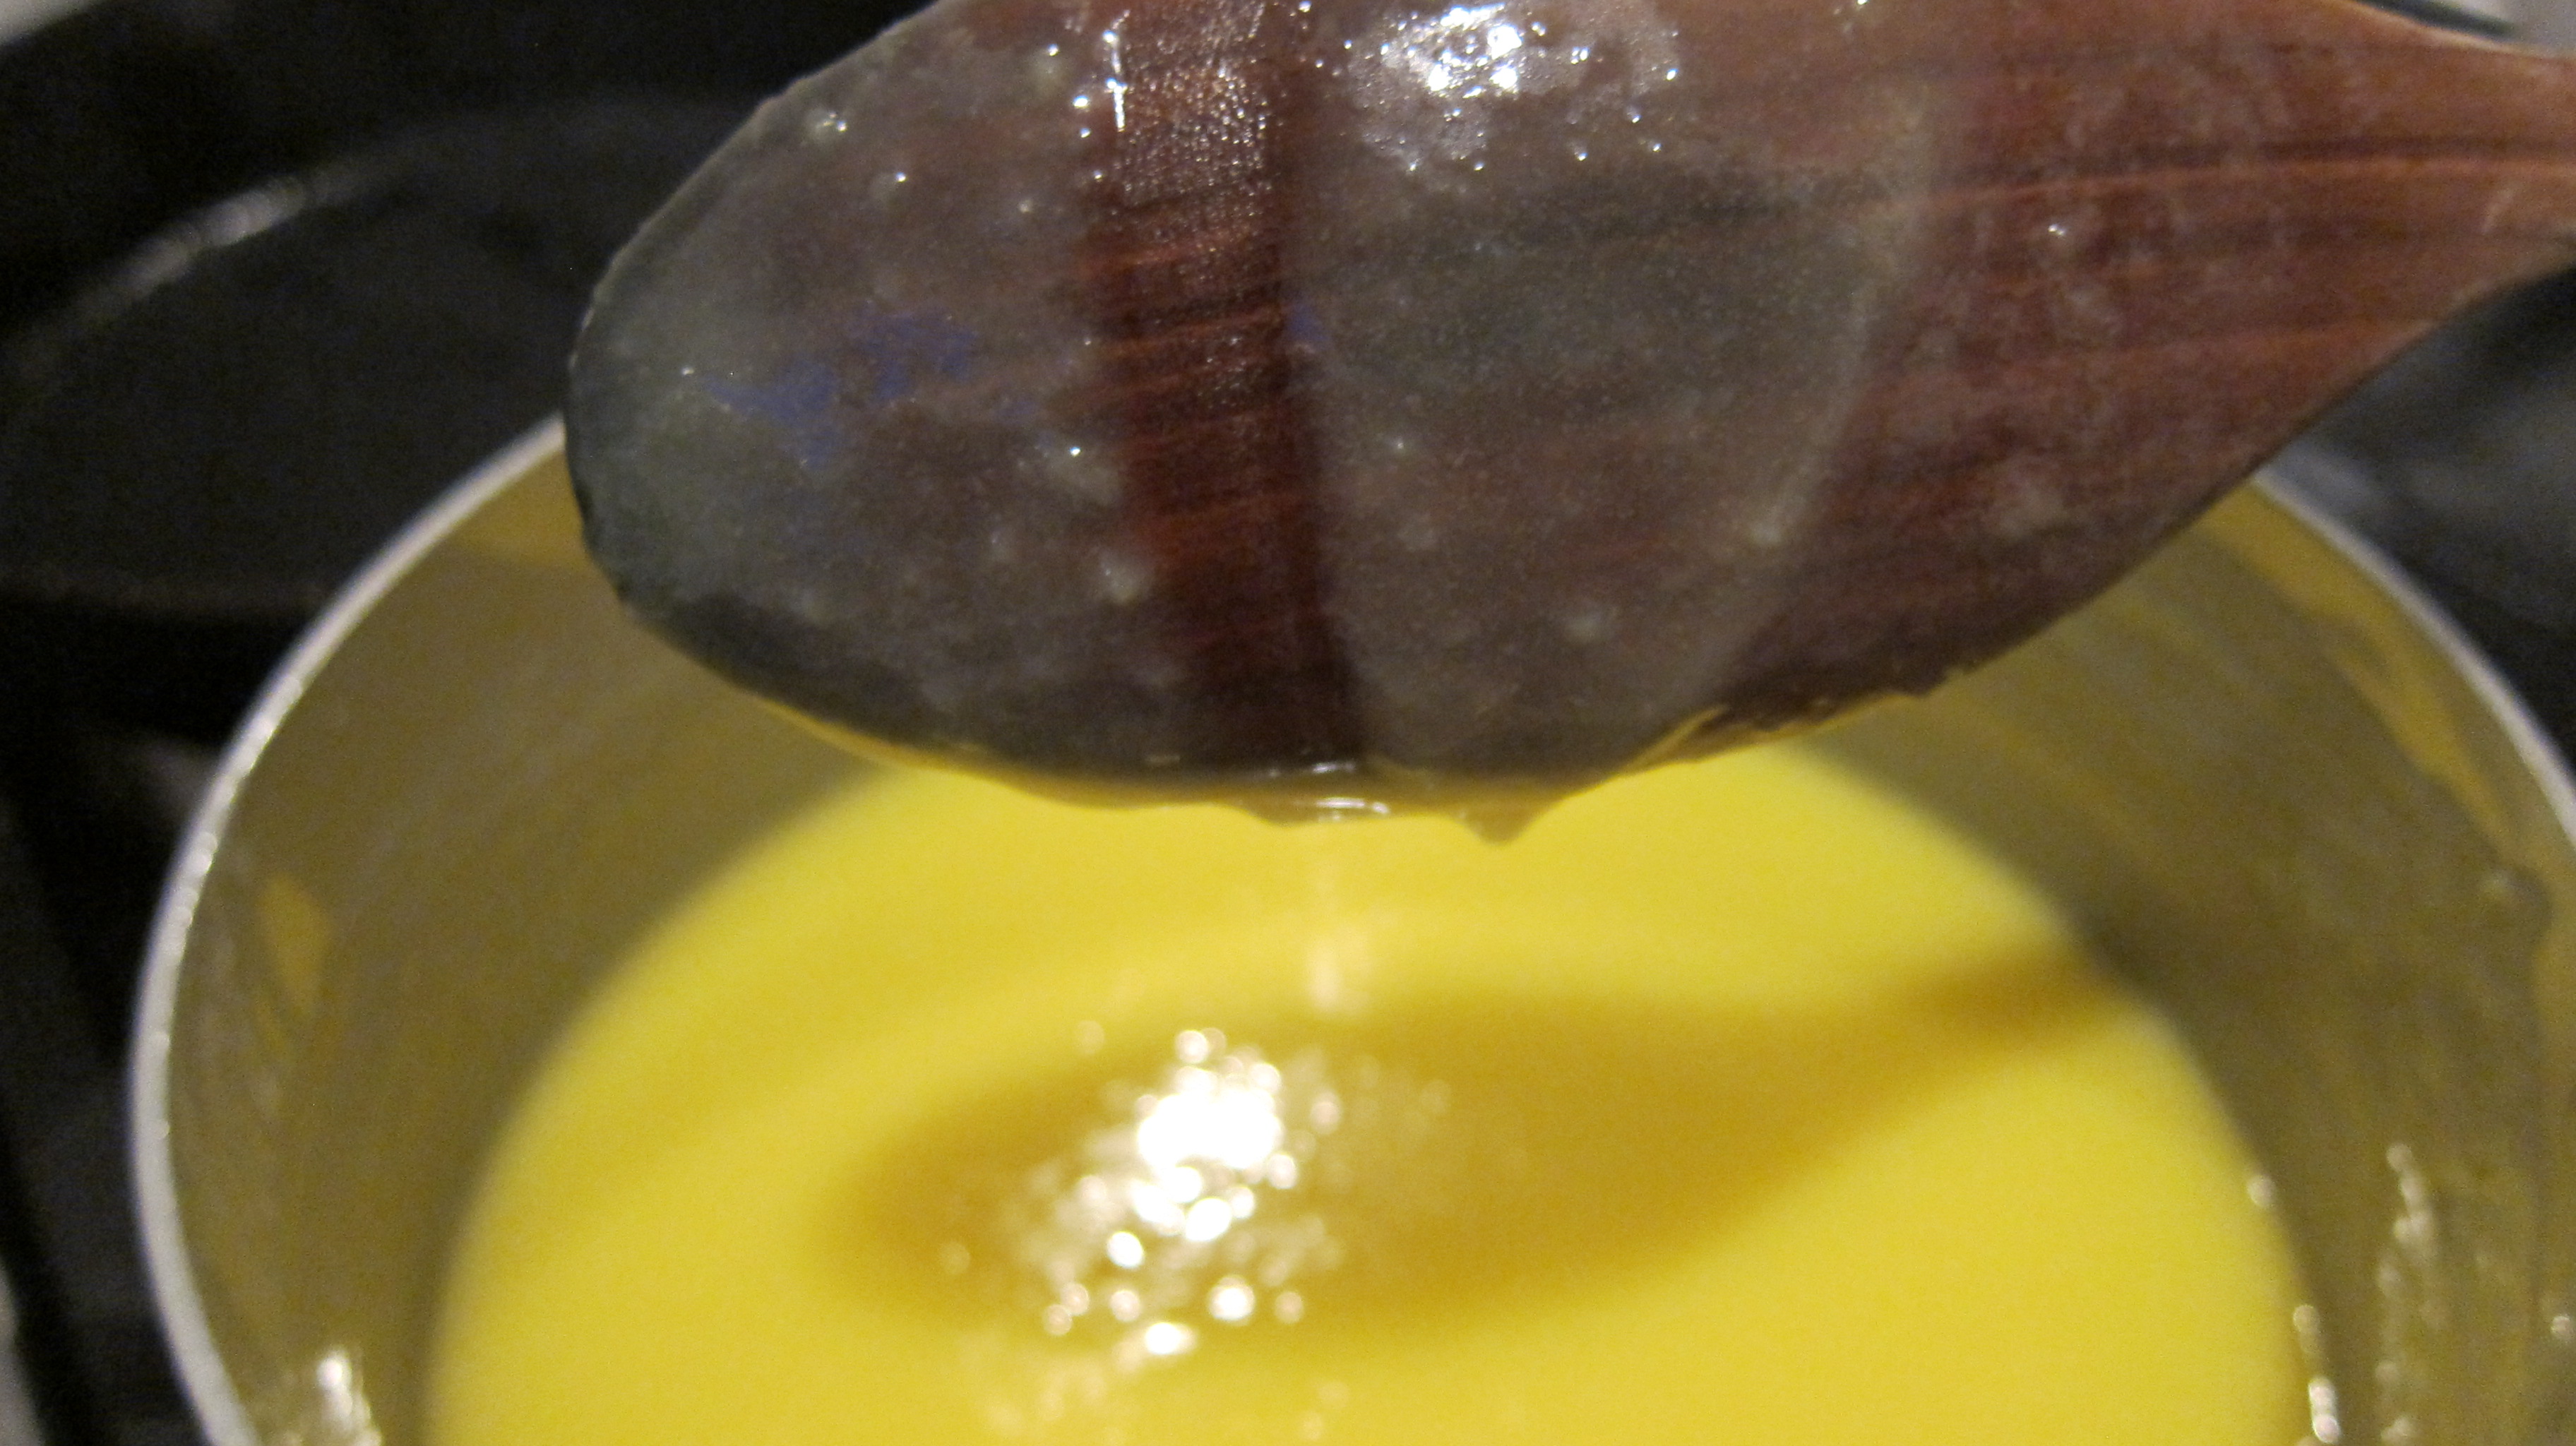
Cook over low heat until the mixture is thick enough to coat the back of the spoon.
This takes a while (20-30 minutes) but it will thicken so don’t worry that it’s not working. Strain the mixture and whisk in the buttermilk, vanilla and salt.
Cool overnight and churn according the the directions of your ice cream maker.
I have a Kitchen Aid mixer which I love so much. I got the ice cream attachment to it last summer because the folks on America’s Test Kitchen (a kind of consumer reports for food and kitchen equipment) gave it a high rating, it was cheap-ish and I already had a Kitchen Aid. You can get it here: http://www.amazon.com/KitchenAid-KICA0WH-Cream-Maker-Attachment/dp/B0002IES80/ref=sr_1_1?ie=UTF8&qid=1367936388&sr=8-1&keywords=kitchen+aid+ice+cream+attachment
It’s great, it makes really creamy ice cream and is super simple to use and clean, in case you were wondering.
Congratulations to Orb and the folks who put money down on him!
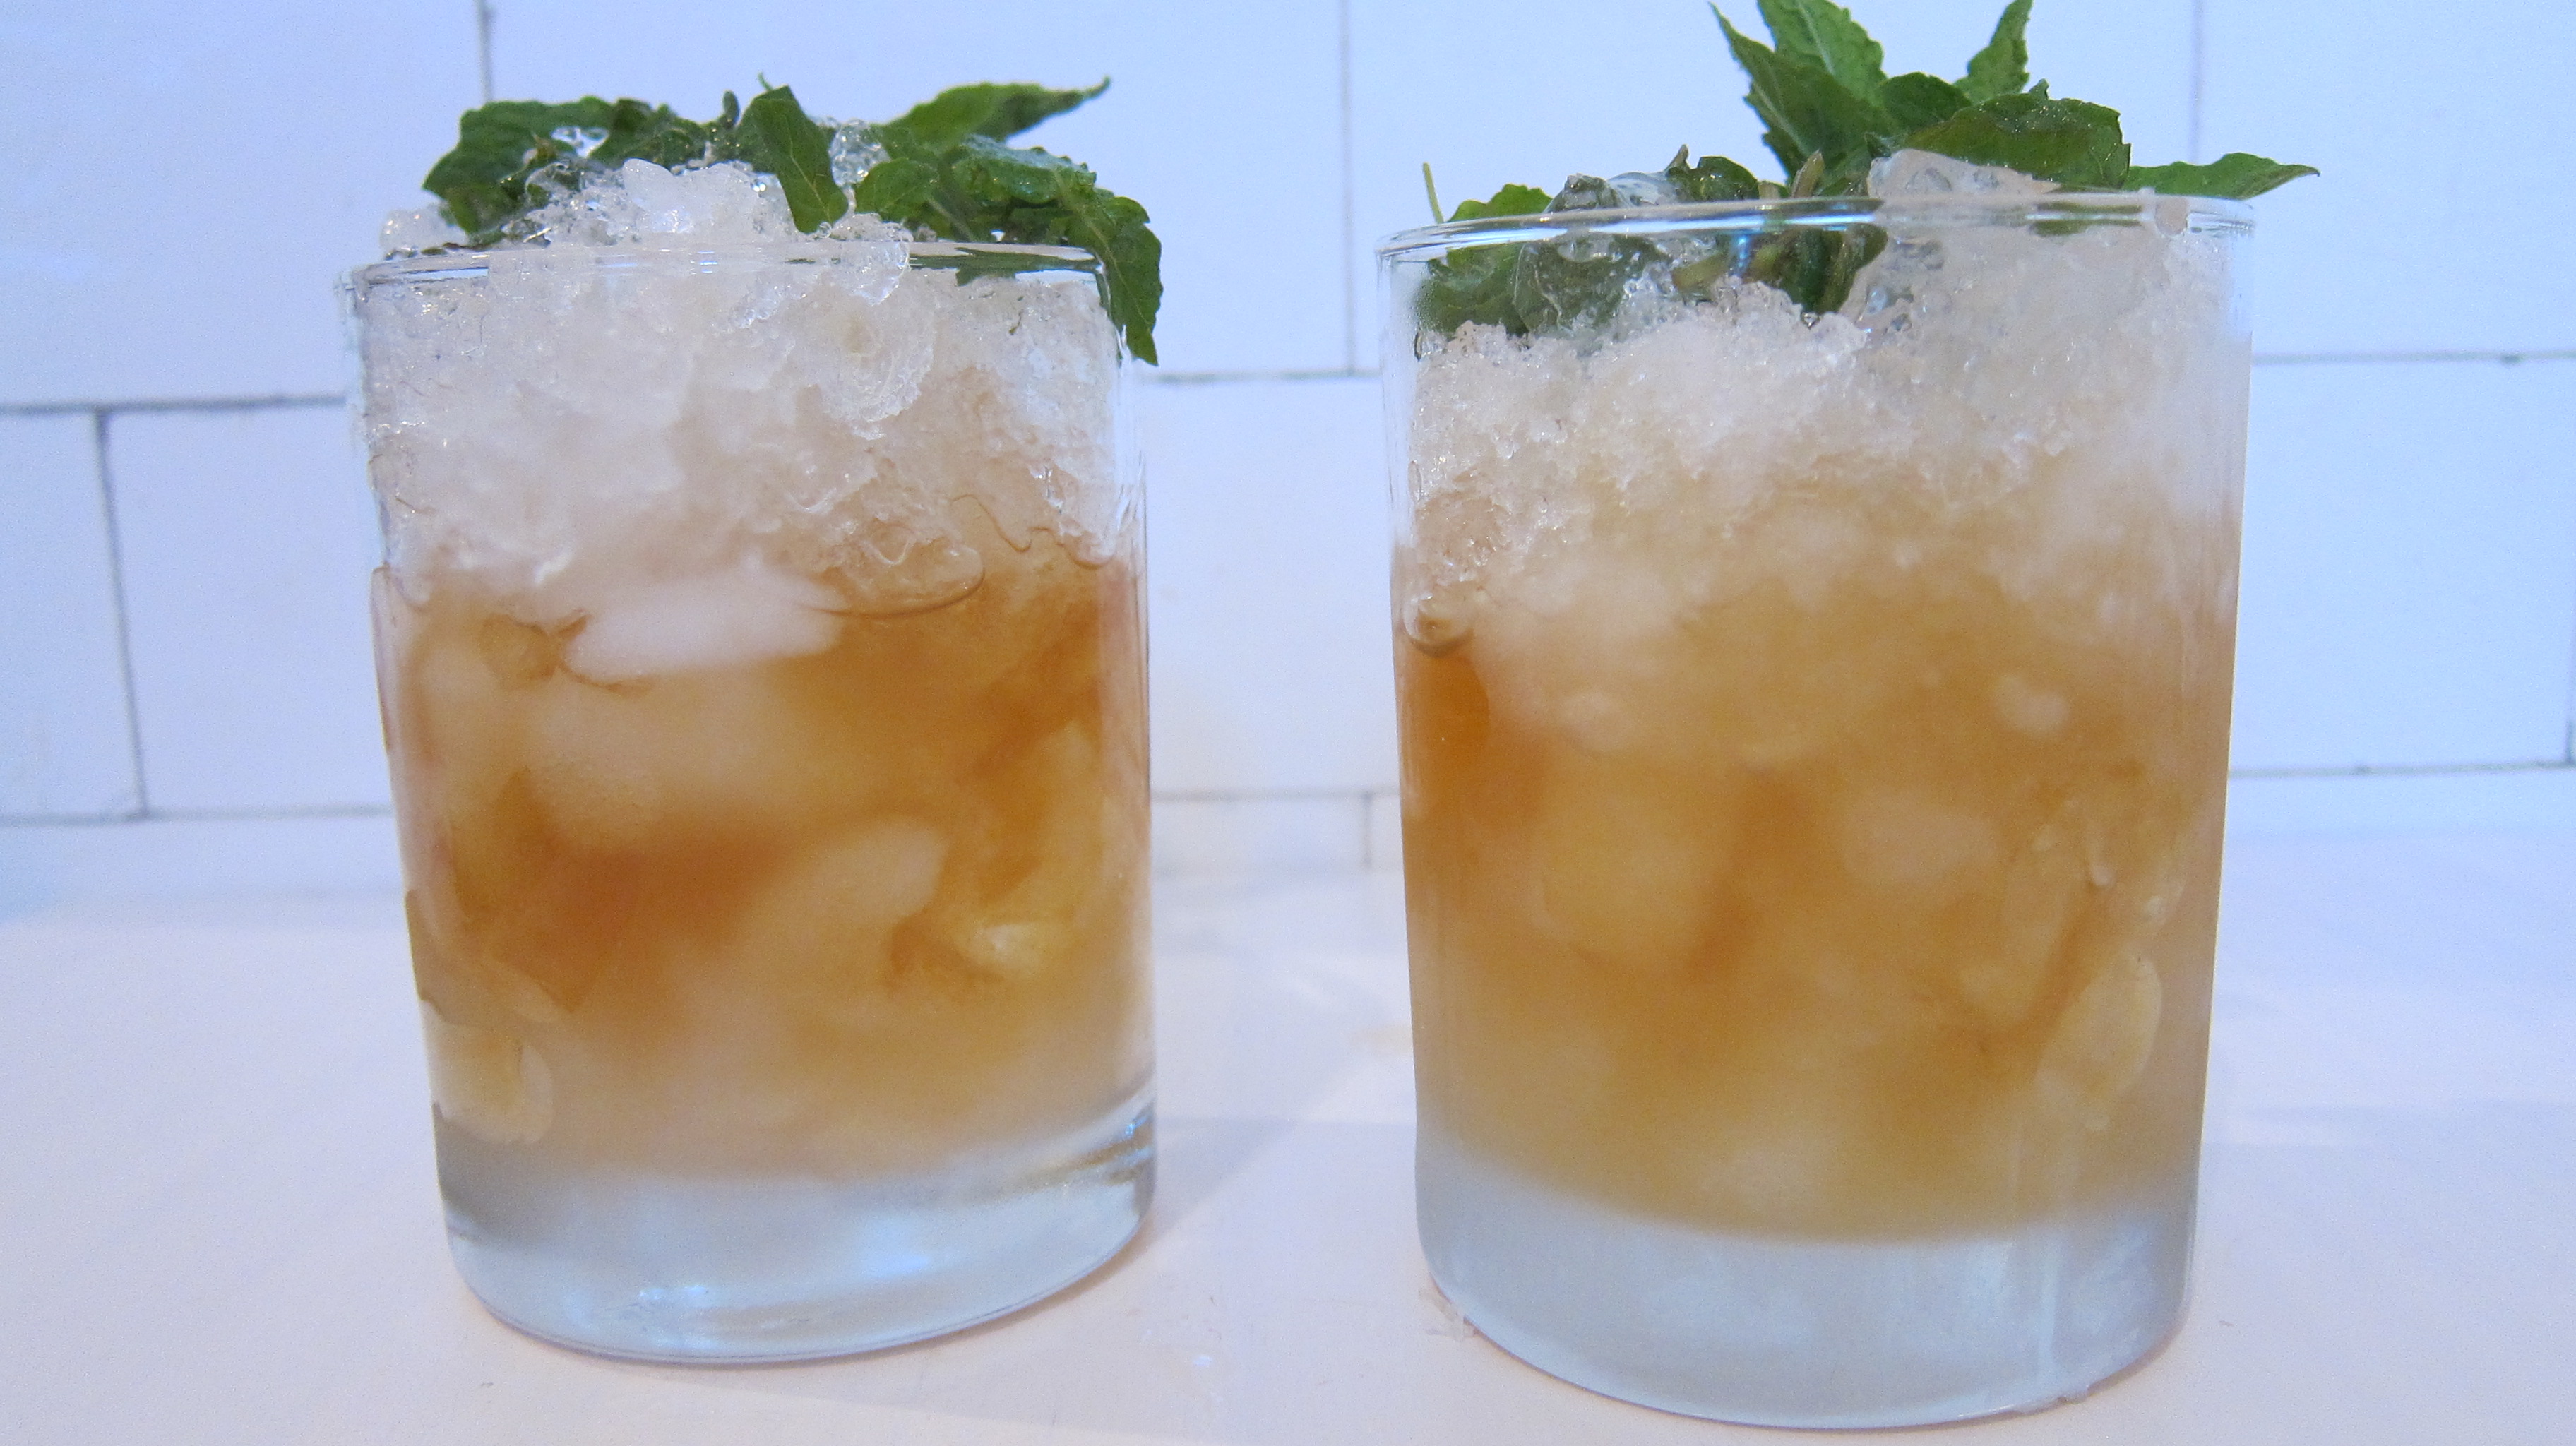
I don’t follow horse racing at all but I do love an event and an excuse to wear a fancy hat. Today was The Kentucky Derby and Husband decided to make us some mint juleps to watch the race with. They were tasty if a little strong for me. I cut (ahem, swapped) mine with club soda and we had a blast.
crushed ice for two glasses
5 oz. bourbon
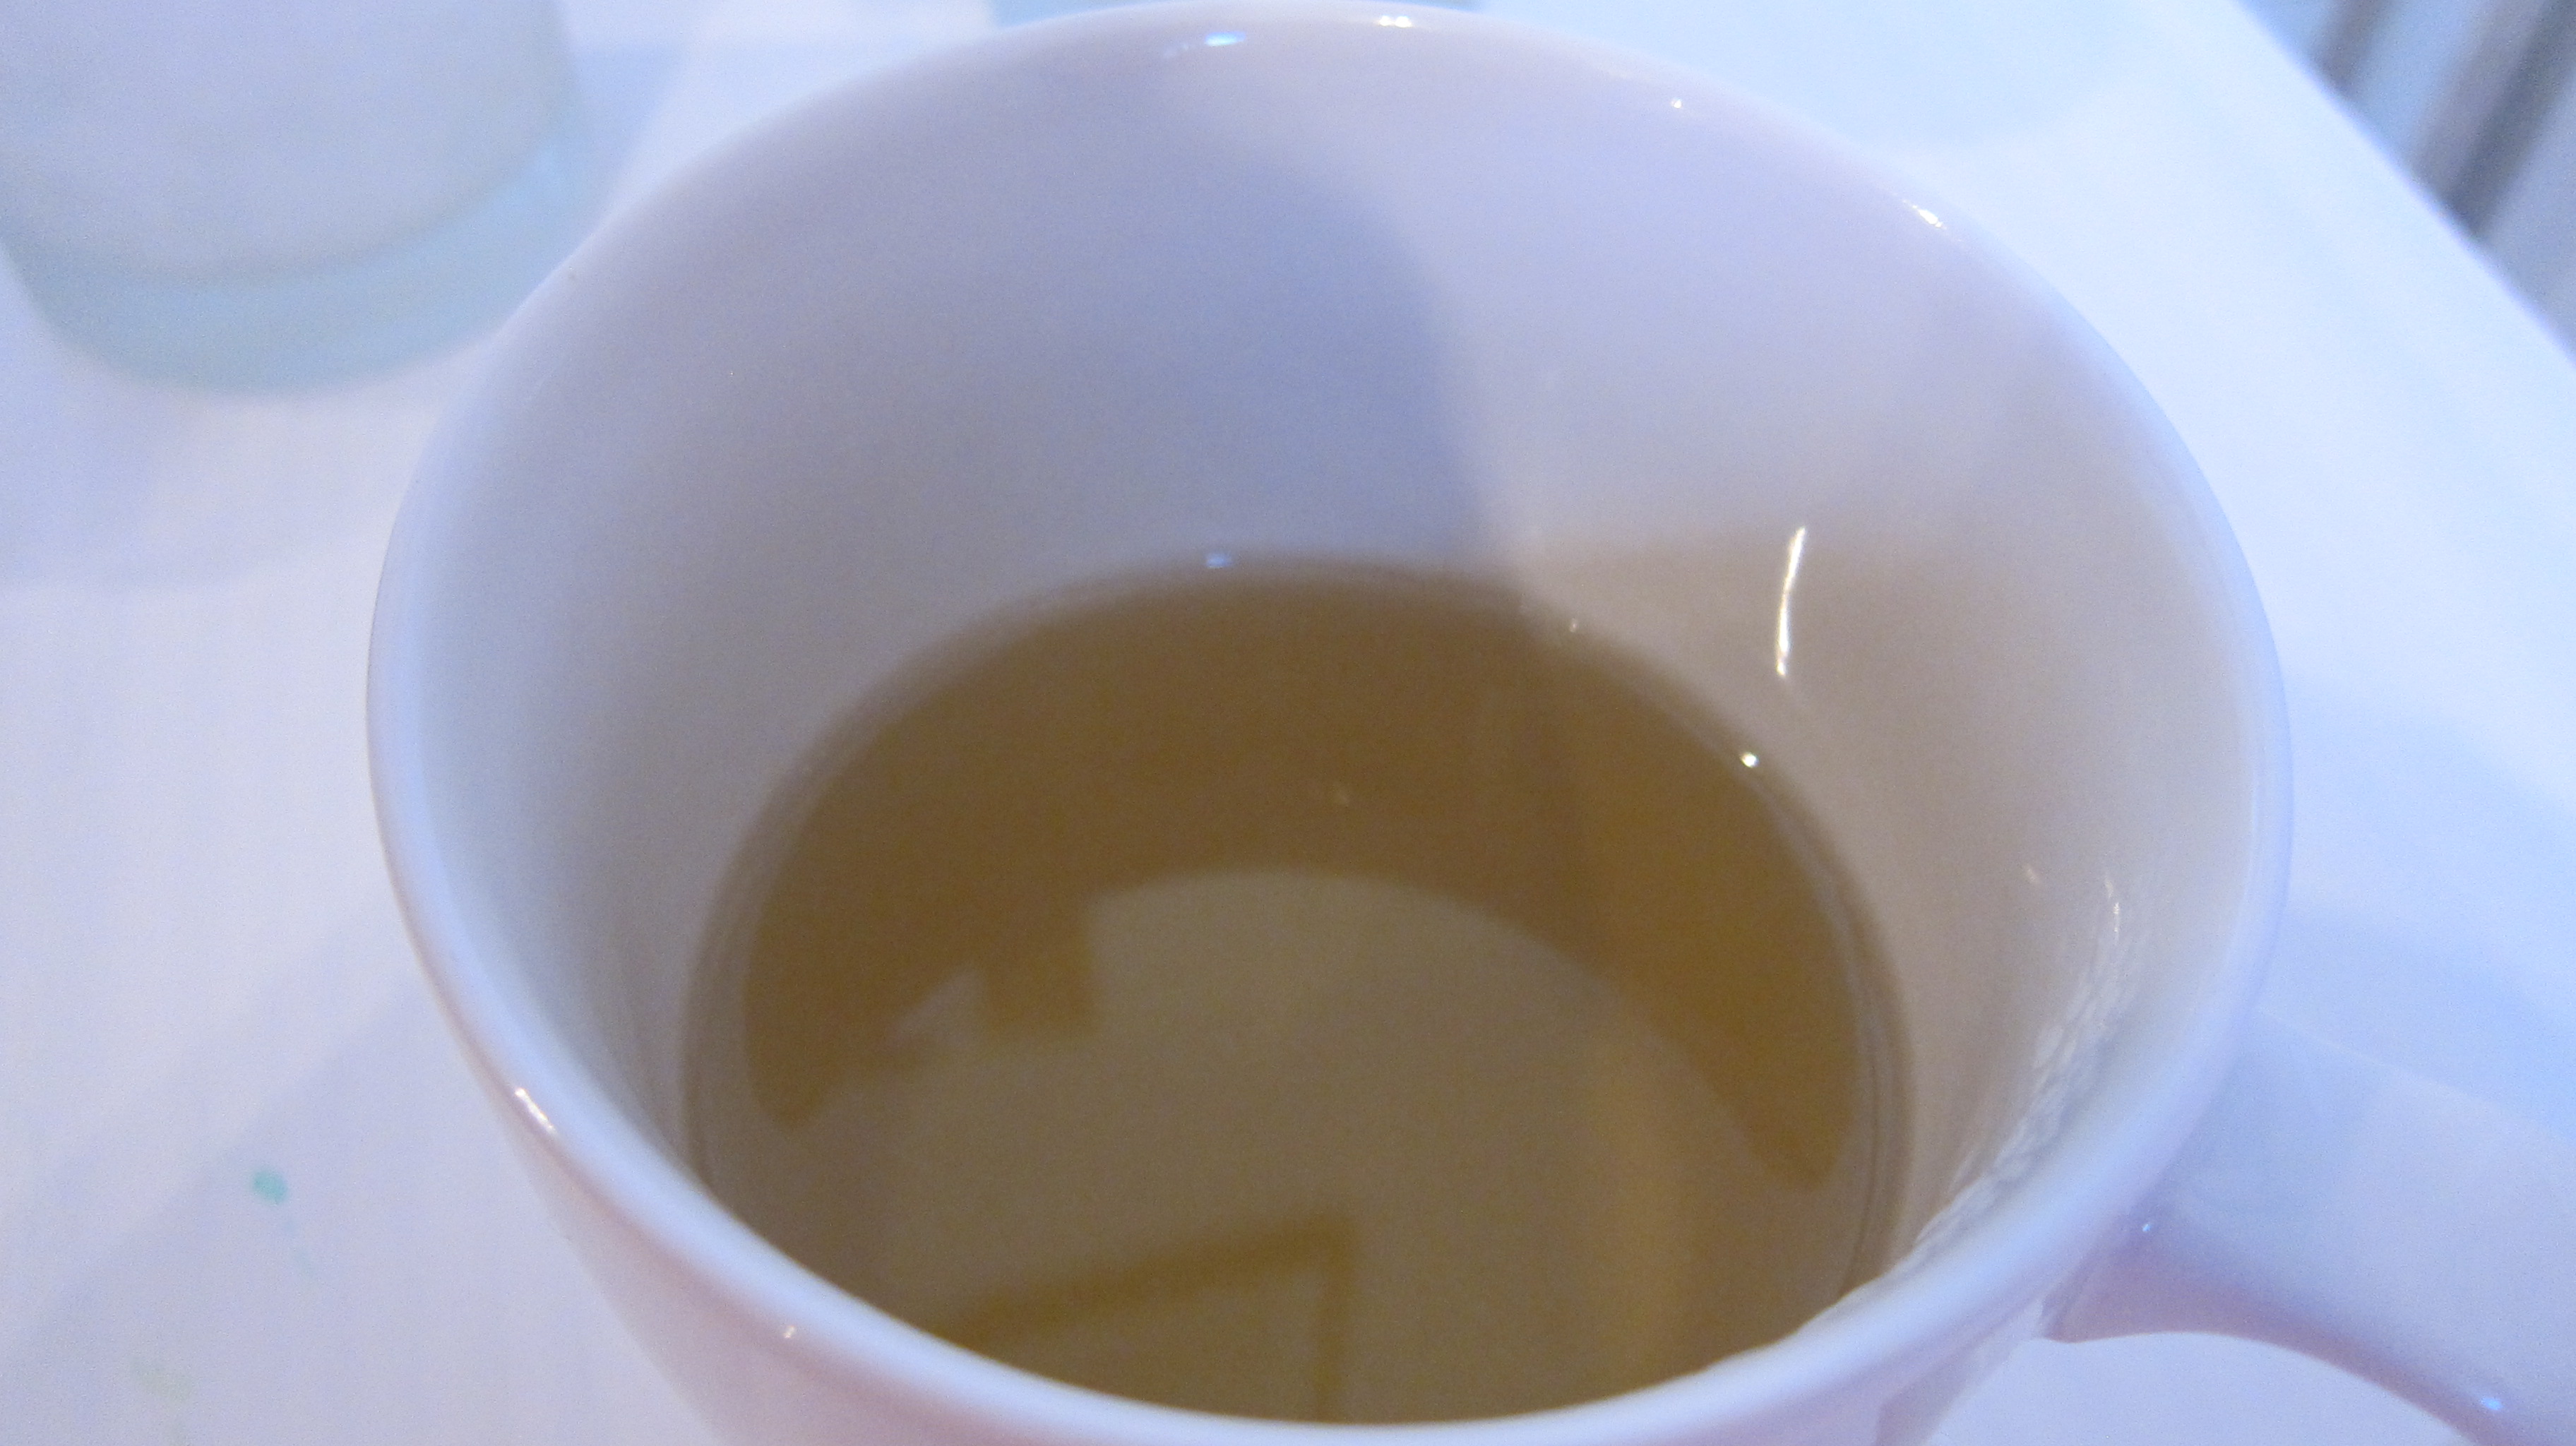
2 oz. simple syrup *simple syrup is simply (sorry couldn’t resist) equal parts sugar and water cooked on the stove until the sugar is fully dissolved, allow to cool completely before using.
8-10 sprigs of mint
Put half the mint and simple syrup in each glass. Muddle the mint well to bruise the leaves and release the flavor of the mint. Add the crushed ice and bourbon and stir. Serve with a sprig of mint.